Connect to EatNow the number you already use on the WhatsApp Business app. You keep using the app as usual.
Your number stays on the WhatsApp Business app on your phone, and EatNow connects to it at the same time (Meta calls this “Coexistence”). You chat from the app as before; EatNow sends confirmations and reminders, and the AI agent can reply if you turn it on. Everything stays in sync.
This case needs a number already used on the WhatsApp Business app. Otherwise, see the other cases in Where to start?.
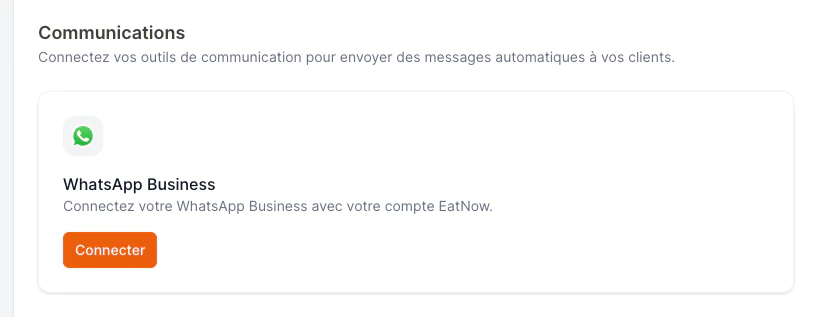
In EatNow, go to Settings → Integrations, find the WhatsApp card and click Connect.
The WhatsApp card in EatNow Integrations.
2
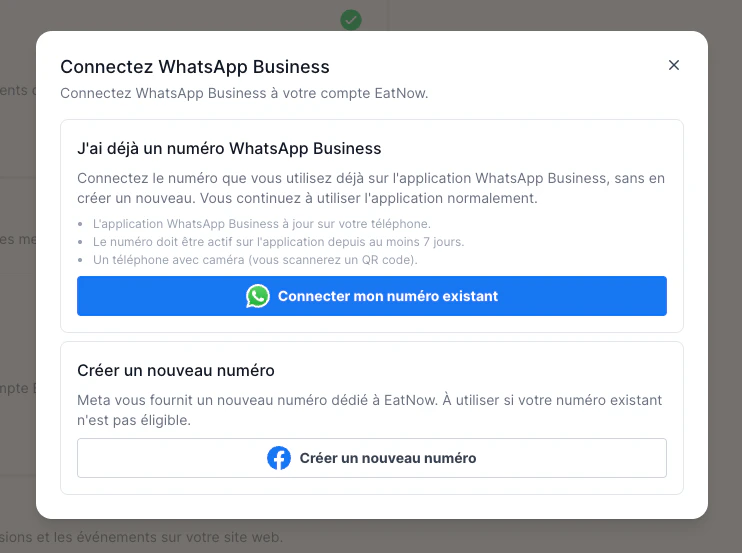
Click “Connect my existing number”
It’s the blue button, under “I already have a WhatsApp Business number”.
Click “Connect my existing number”.
3
Log in with Facebook
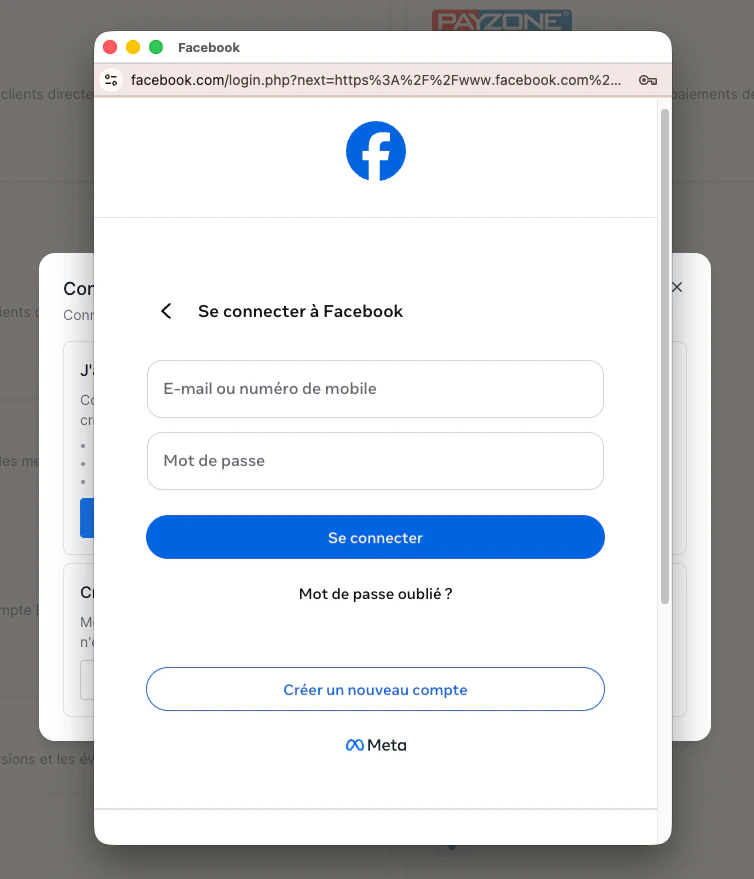
A Meta window opens. Log in with the Facebook account that manages your business.
Log in with your Facebook account.
4
Choose your business
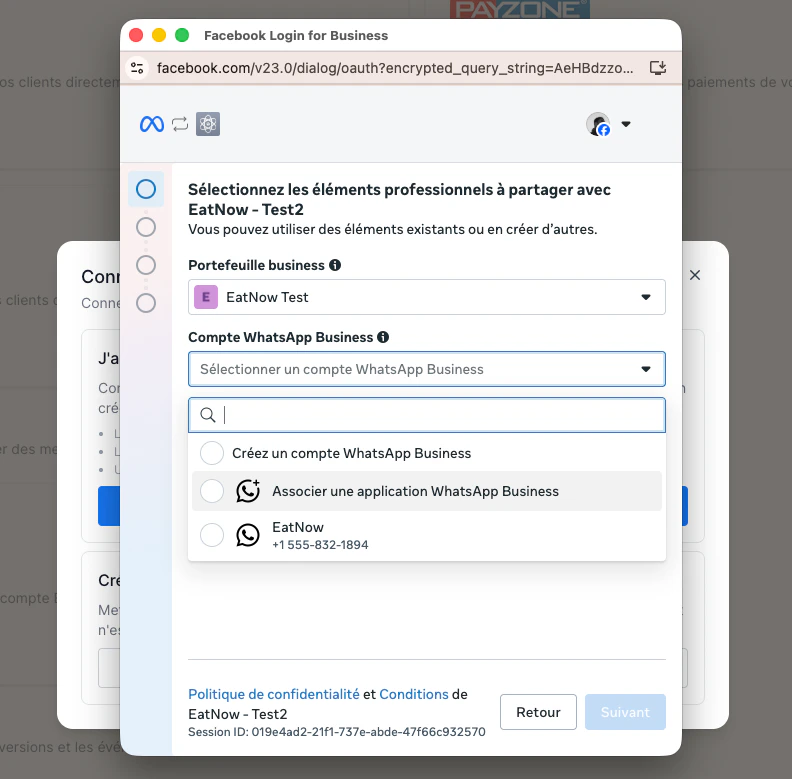
Follow the screens to choose your business portfolio, or create one.
Whenever a name is asked, type your restaurant’s name, spelled correctly: it’s what your customers will see.
Choose (or create) your business portfolio.
5
Show the QR code
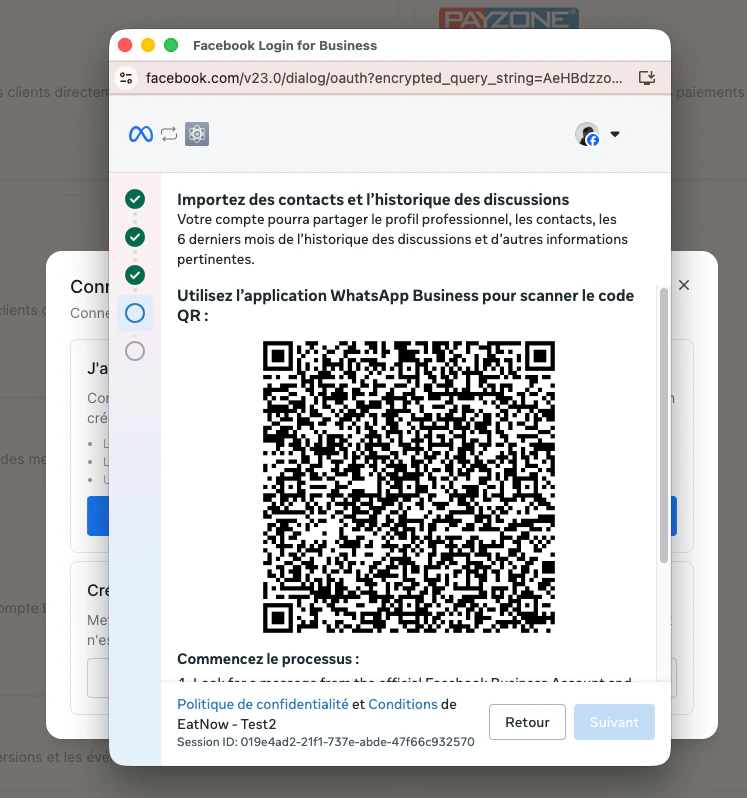
Meta shows a QR code. Keep this screen open on your computer.
The QR code shown by Meta.
6
Scan the QR code with your phone
The easiest way: you receive on this number a WhatsApp message from Facebook Business with a Connect button. Tap it: the scan screen opens. Point it at the QR code on your computer. (The video below starts on this message.)No message? Open WhatsApp Business → Settings → Linked devices → Link a device, then scan the QR code.
7
Add a bank card (you can do it later)
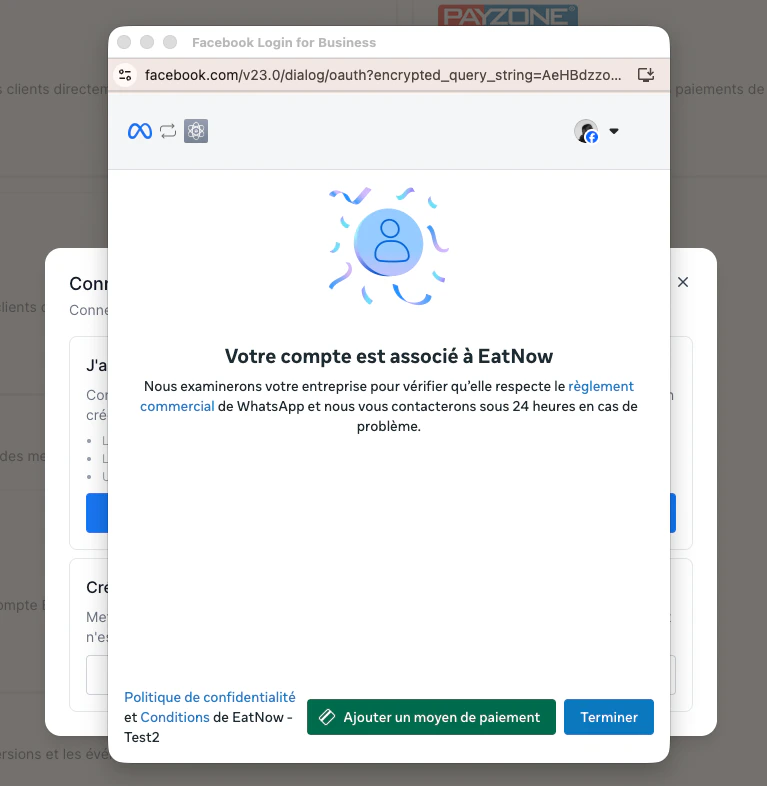
Click Add a payment method to save a card on Meta.It’s used only for automatic messages (confirmations, reminders…), which Meta charges per message. Receiving messages and replying to your customers is free: if you only want to chat for now, skip this step.
“Add a payment method” opens Meta's billing.
8
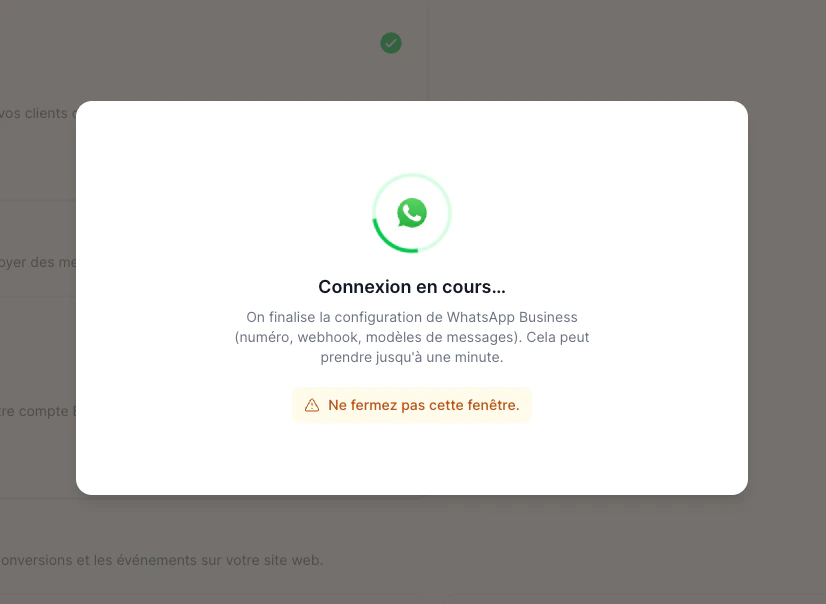
Wait
EatNow finishes the setup. Don’t close the window and don’t reload the page — it can take up to a minute.
Finishing — don't close this window.
9
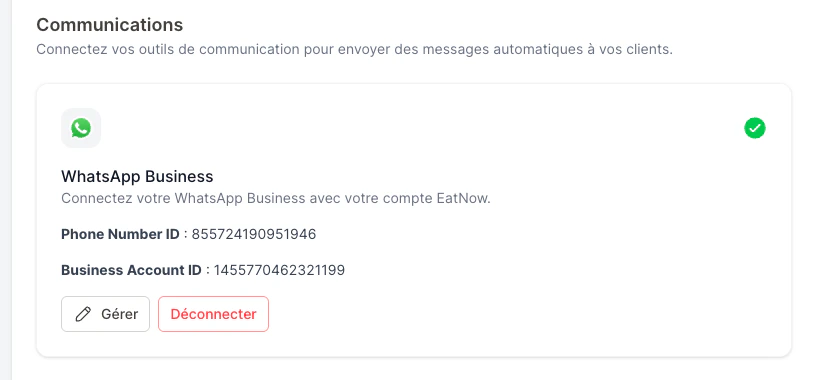
You're connected
No PIN code, no new number: the connection is done.
WhatsApp is connected.
Meta tells you your number isn’t eligible? It depends on the country and how the number is used. In that case, choose Case 2 — Virtual number or Case 3 — SIM card.