Connect WhatsApp to EatNow in a few minutes. We recommend keeping the number you already use, with WhatsApp Coexistence.
EatNow partners with Meta so you can message your customers on WhatsApp — confirmations, reminders, and replies — with excellent deliverability.There are two ways to connect:
Connect my existing number
Recommended. Keep the number you already use in the WhatsApp Business app. You keep chatting from the app; EatNow connects in parallel.
Create a new number
Meta gives you a brand-new number dedicated to EatNow. Use this only if your existing number can’t be connected.
Before you start, please read Requirements — it lists everything you need (the WhatsApp Business app, a phone with a camera, …) so the connection goes smoothly the first time.
To begin, in EatNow go to Settings → Integrations, search for “WhatsApp” and click Connect. You’ll be offered both options.
Option A — Connect my existing number (recommended)
This uses WhatsApp Coexistence: your number stays on the WhatsApp Business app on your phone, and EatNow connects to it in parallel. You keep replying from the app, EatNow sends notifications, and (if enabled) the AI agent can answer — everything stays in sync.
1
Open the WhatsApp integration
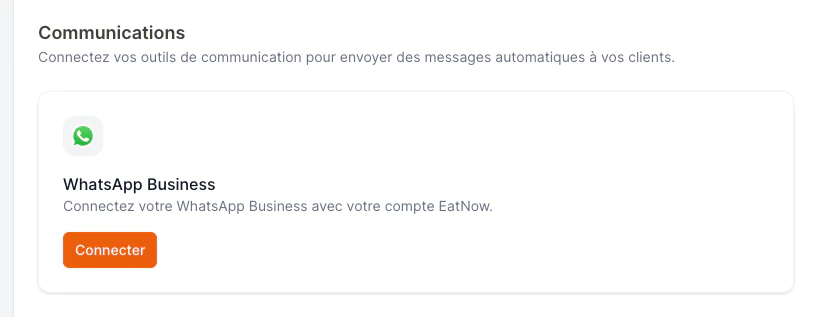
In EatNow, go to Settings → Integrations, find the WhatsApp card and click Connect.
The WhatsApp card in EatNow Integrations.
2
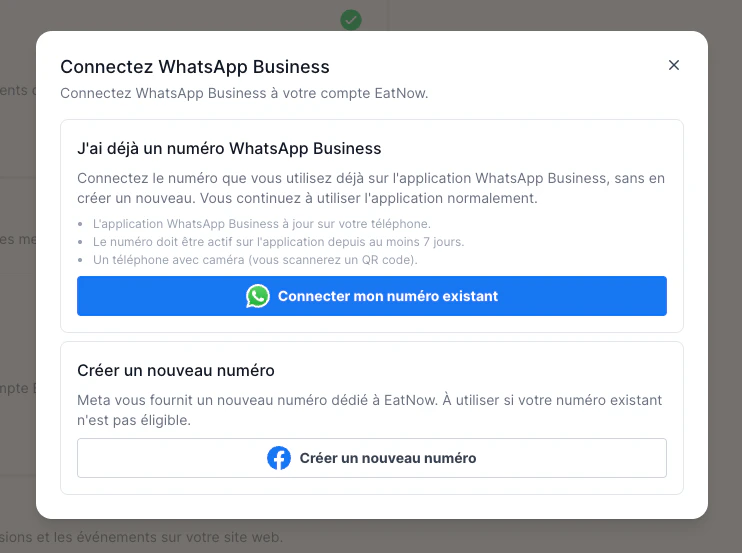
Choose “Connect my existing number”
Pick the first option to keep your current WhatsApp Business number.
Pick “Connect my existing number”.
3
Log in with Facebook
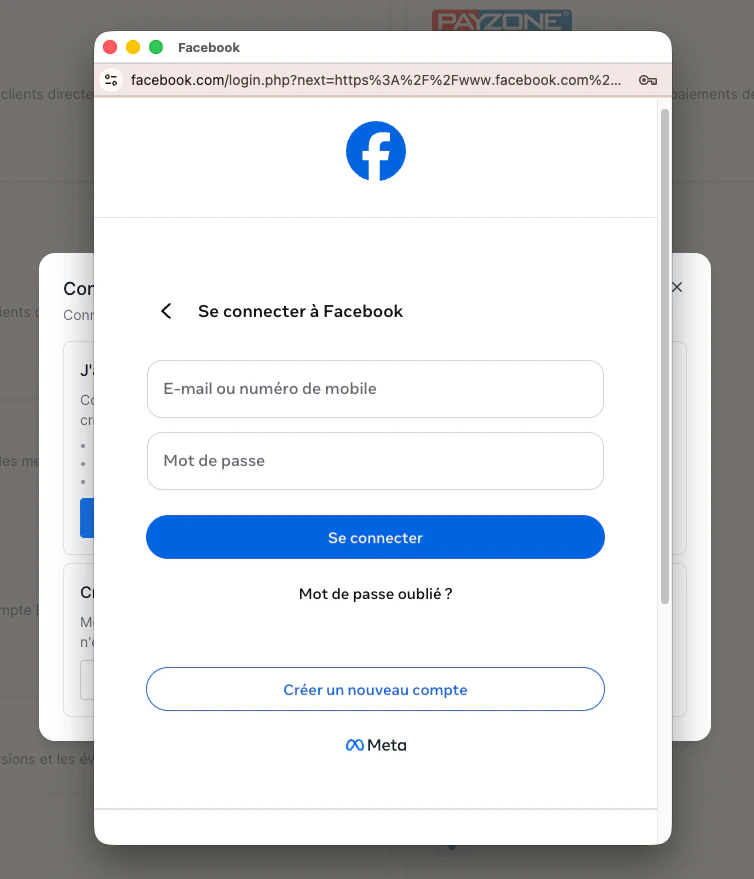
A Meta window opens. Log in with the Facebook account that manages your business.
Log in with your Facebook account.
4
Select your business
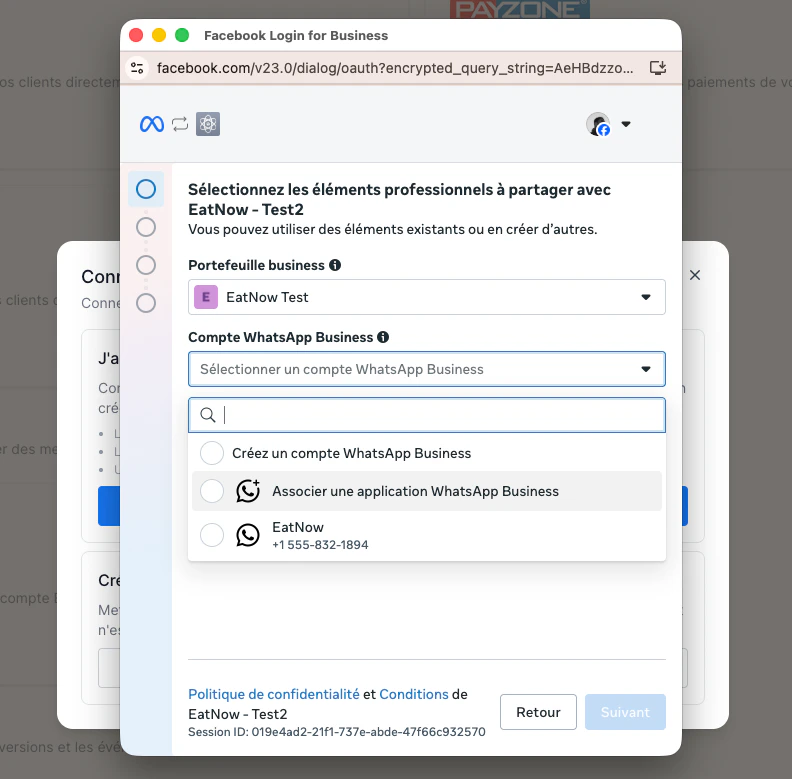
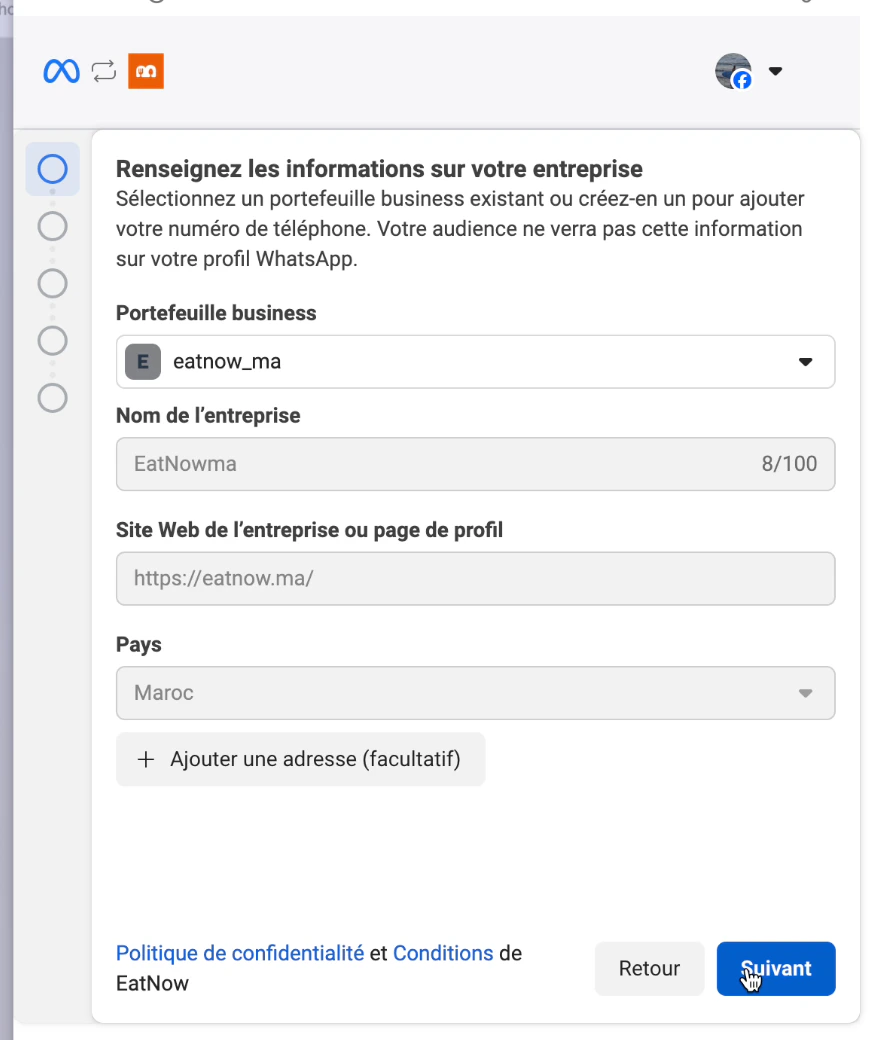
Follow the on-screen steps to select your business portfolio.
Whenever a name is requested, enter your establishment’s name with the correct spelling — it’s what your customers will see.
Select (or create) your business portfolio.
5
Display the QR code
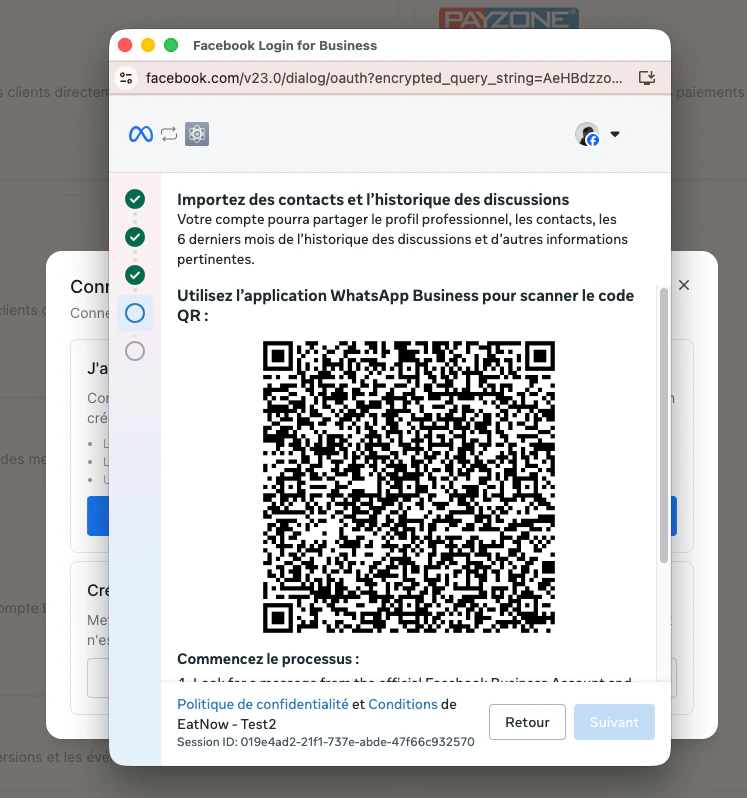
Meta shows a QR code. Keep this screen open on your computer.
The QR code shown by Meta.
6
Scan it from the WhatsApp Business app
The easiest way: you’ll receive a WhatsApp message from Facebook Business on that number, with a Connect button — tap it to jump straight to the scan screen. (This is exactly what the video below shows, starting from that message.)Otherwise, open the WhatsApp Business app → Settings → Linked devices → Link a device manually, then scan the QR code shown on your computer.
7
Add a payment method (for automatic messages)
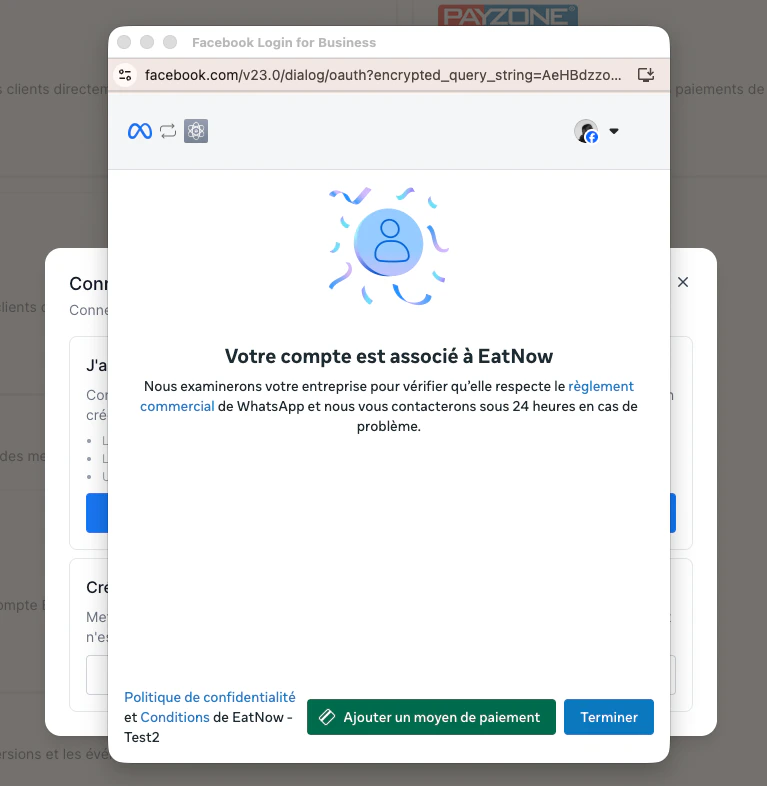
Click Add a payment method to open the Meta portal and register a card.
This is required only for automatic messages — the templates EatNow sends on your behalf (booking confirmations, reminders, etc.). Meta bills these per message, so a card must be on file with Meta to send them. Receiving messages, chatting, and replying within the 24-hour window don’t require it — you can add the card later if you only want to chat for now.
“Add a payment method” opens Meta's billing portal.
8
Wait while we finalize
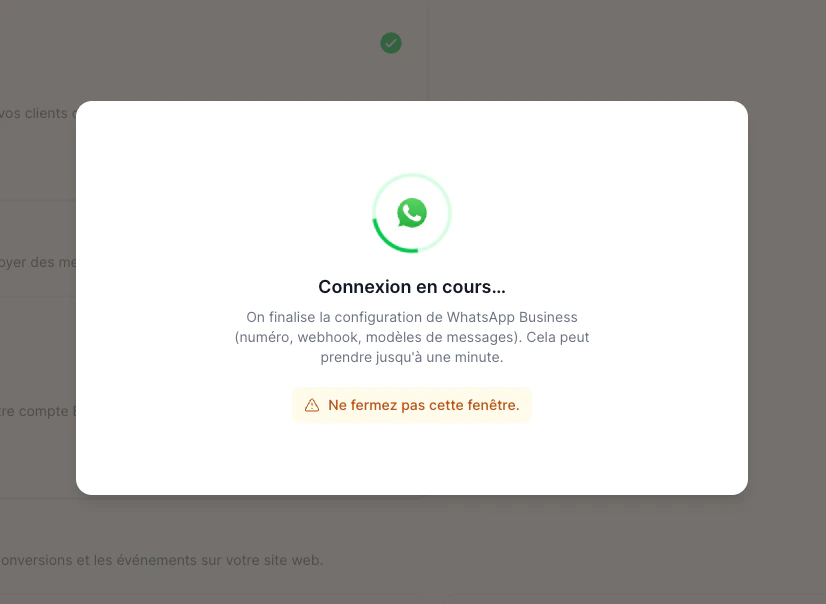
EatNow finalizes the setup (number, history sync, message templates). Don’t close the window or reload the page — it can take up to a minute.
Finalizing — please don't close this window.
9
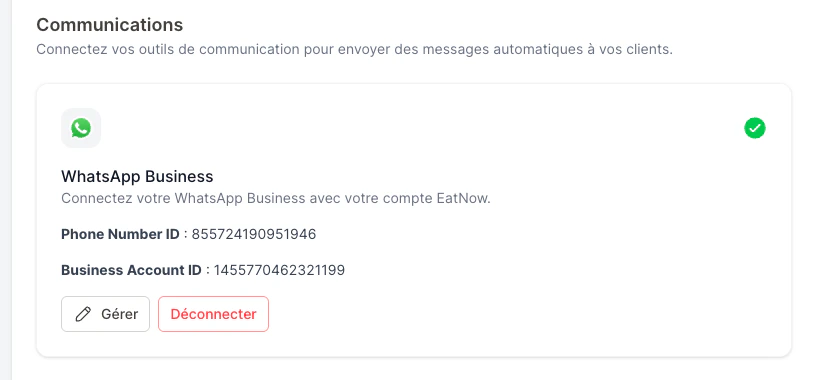
You're connected
That’s it — no PIN, no new number, no business verification step here.
WhatsApp is connected.
If Meta tells you your number isn’t eligible for this option (it can depend on your country or how the number is currently used), use Option B below to create a new number instead.
Use this if you don’t have a WhatsApp Business number yet, or if your existing one isn’t eligible for Coexistence.
1
Choose “Create a new number”
In the WhatsApp connection screen, pick the second option.
2
Connect your business portfolio
Follow the onboarding and connect your business portfolio first.
If you don’t have one, you can create it directly from the interface.
If you already have one, select it from the list.
Whenever a name is requested, enter your establishment’s name with the correct spelling.
Select or create your business portfolio.
3
Create a WhatsApp Business profile
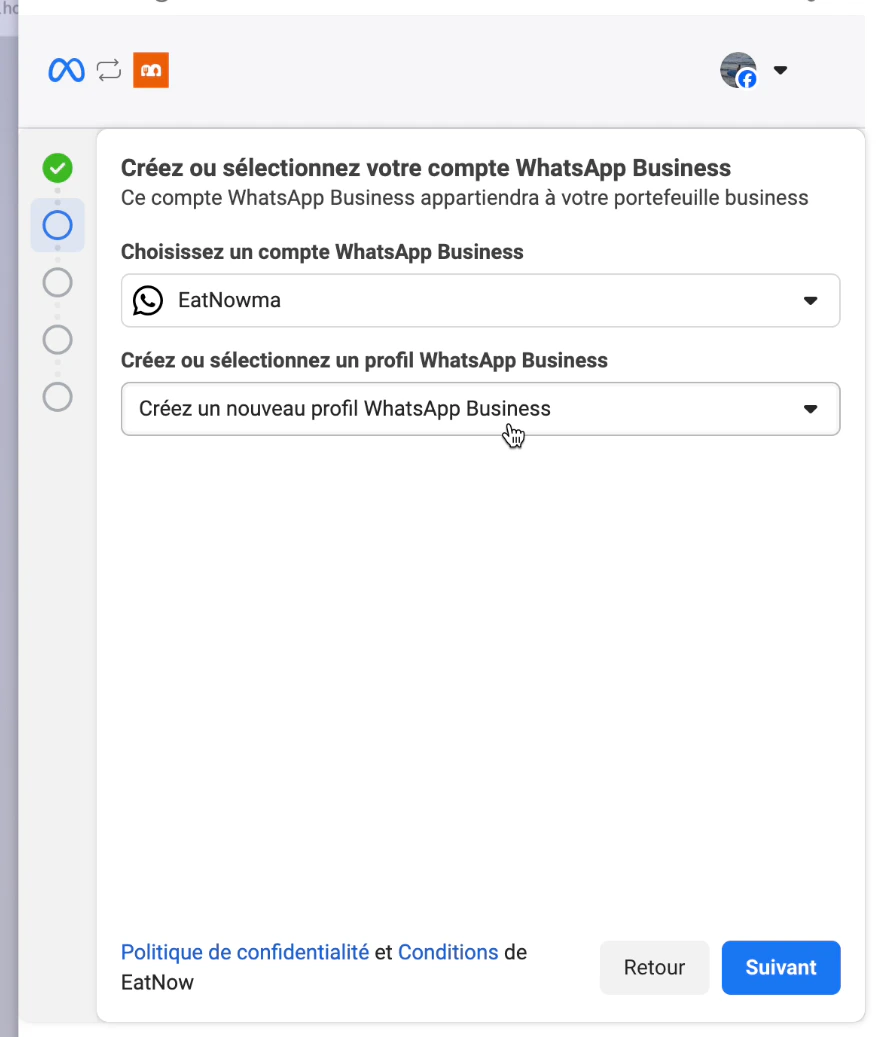
Choose a WhatsApp Business account and create a new WhatsApp Business profile.
Create your WhatsApp Business account.
4
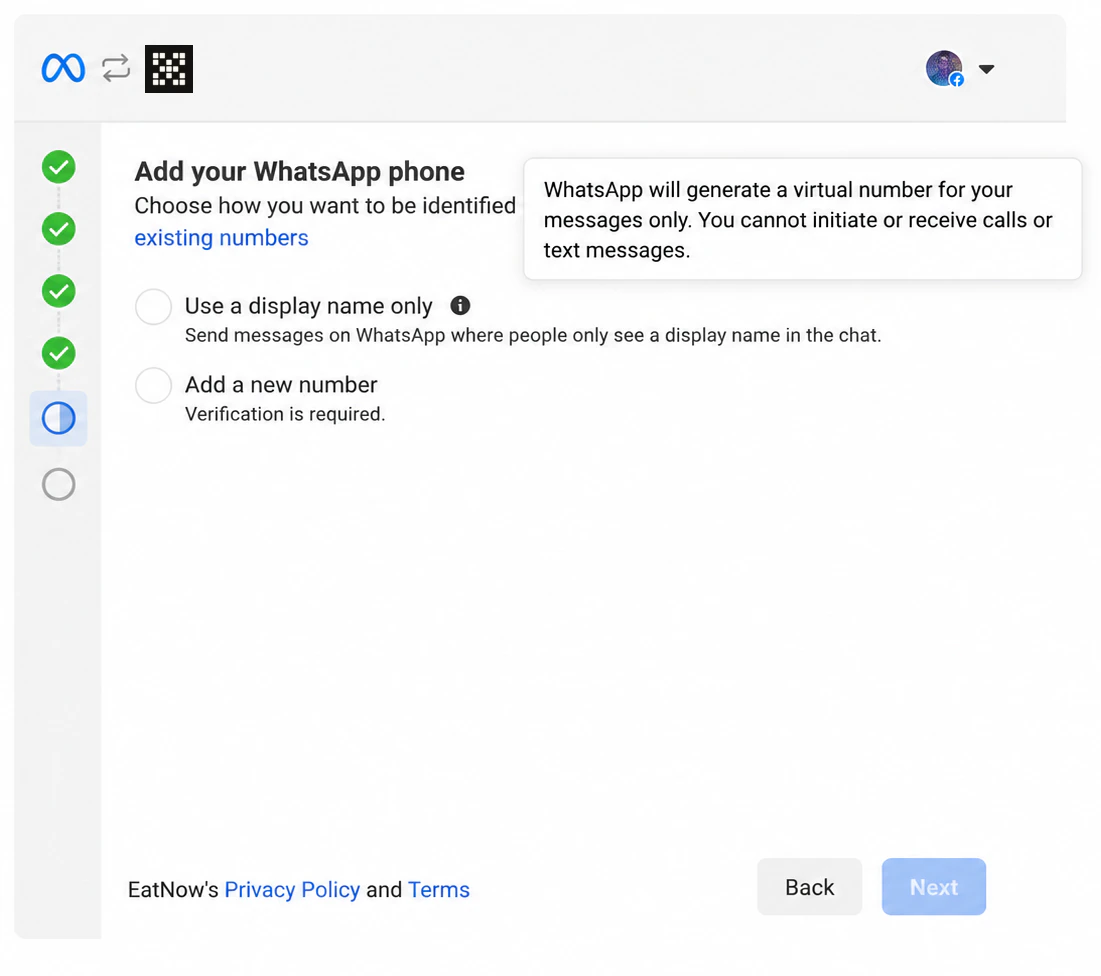
Choose a phone number
You cannot reuse a number already linked to another WhatsApp Business account. Meta offers to create a free number dedicated to EatNow — choose that option.
Choose a phone number — pick Meta's free dedicated number.
5
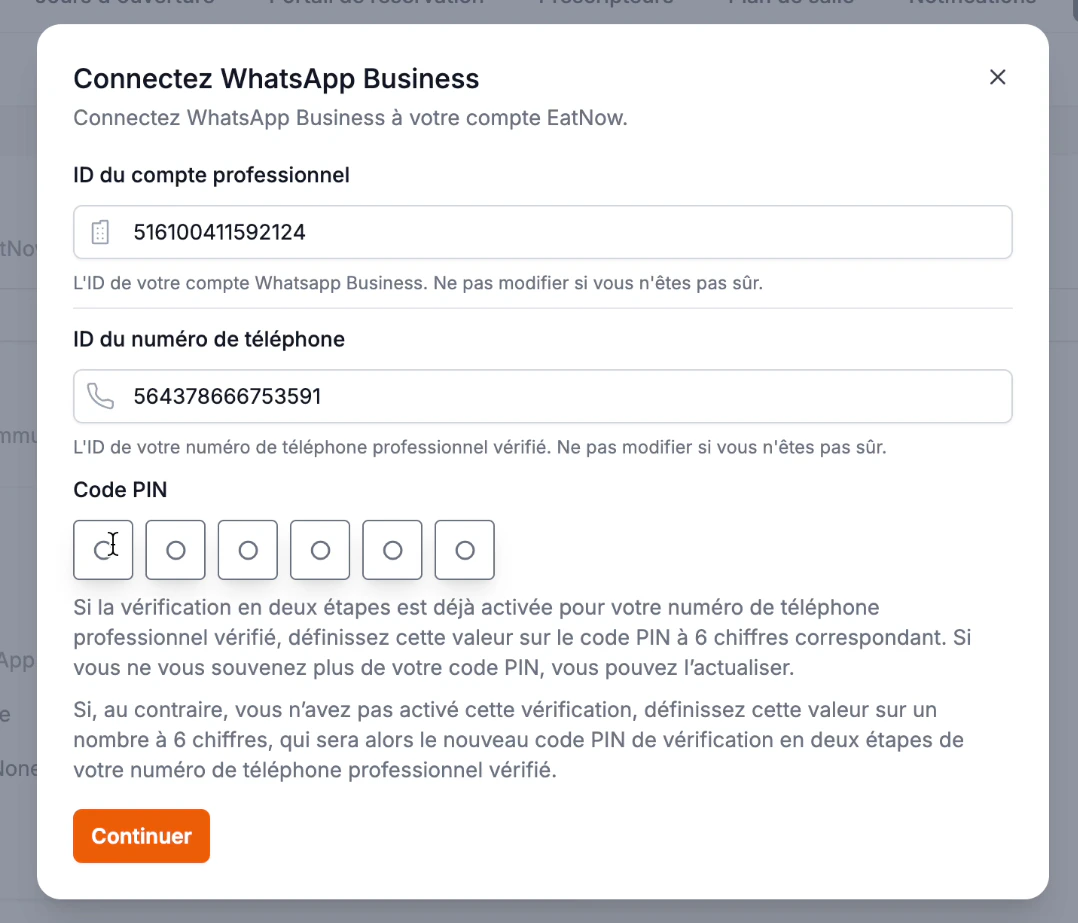
Enter the PIN in EatNow
Back in EatNow, enter the 6-digit PIN for the number:
If two-step verification is already enabled, enter the matching PIN (you can refresh it if you forgot it).
If it’s not enabled, set a new 6-digit PIN — it becomes the two-step verification PIN for that number.
Click Continue. Finalizing can take a few minutes — don’t close the window or reload.
You can now verify your business with Meta and start sending WhatsApp messages with EatNow.If you connected an existing number (Option A), replies your team sends straight from the WhatsApp Business app also appear in the EatNow inbox, marked “sent from the phone”, so nothing gets lost between the two.