
Get the link and the QR code
From Digital menus, click the QR code icon on the menu’s row.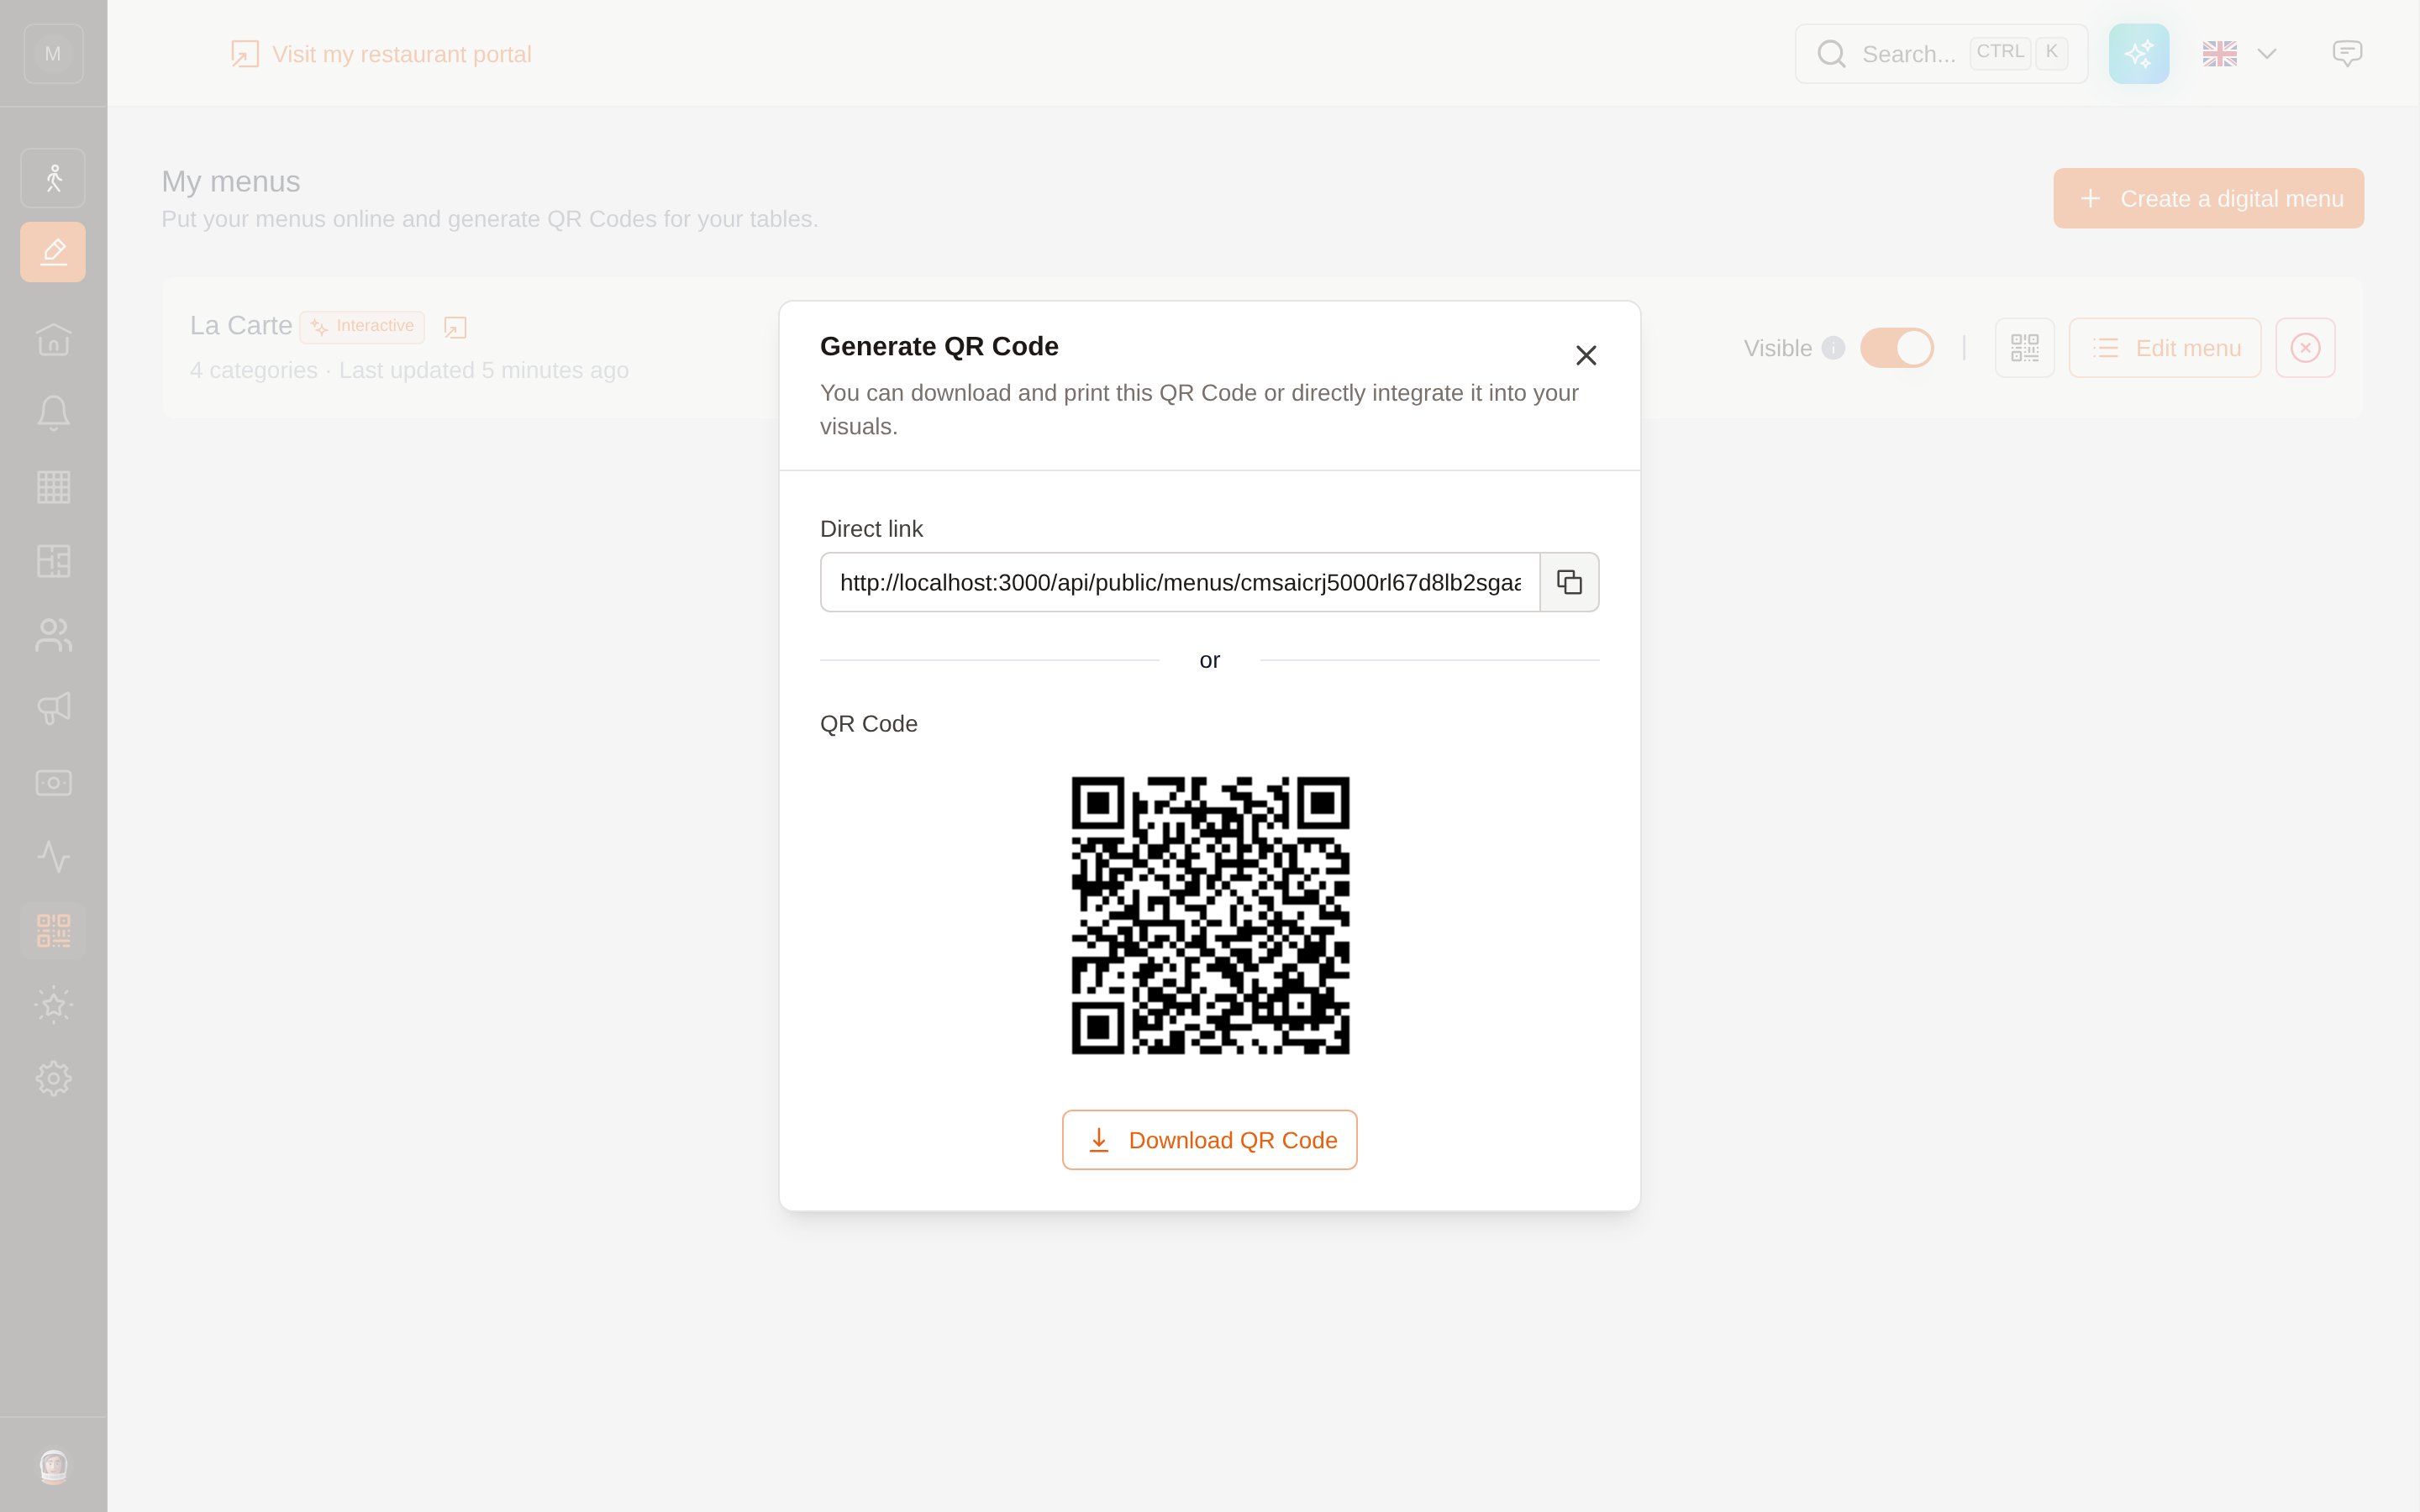
The link to share, and the QR code to print.
- Direct link — copy it with the button next to it. Put it on your website, in your Instagram bio, in an email or a WhatsApp reply.
- QR code — click Download QR Code to get a PNG. Print it on table tents, on your window, at the bottom of the bill.
The QR code and the link are deliberately slightly different. A QR code is normally scanned at the table, so the page it opens hides the Book a table button — your guest is already seated. The copied link keeps the booking button, because it’s meant for people who are not there yet.
Where guests find it on your portal
As soon as one menu is visible, a Menus link appears in the header of your booking portal. If you have several, it opens a small dropdown listing them.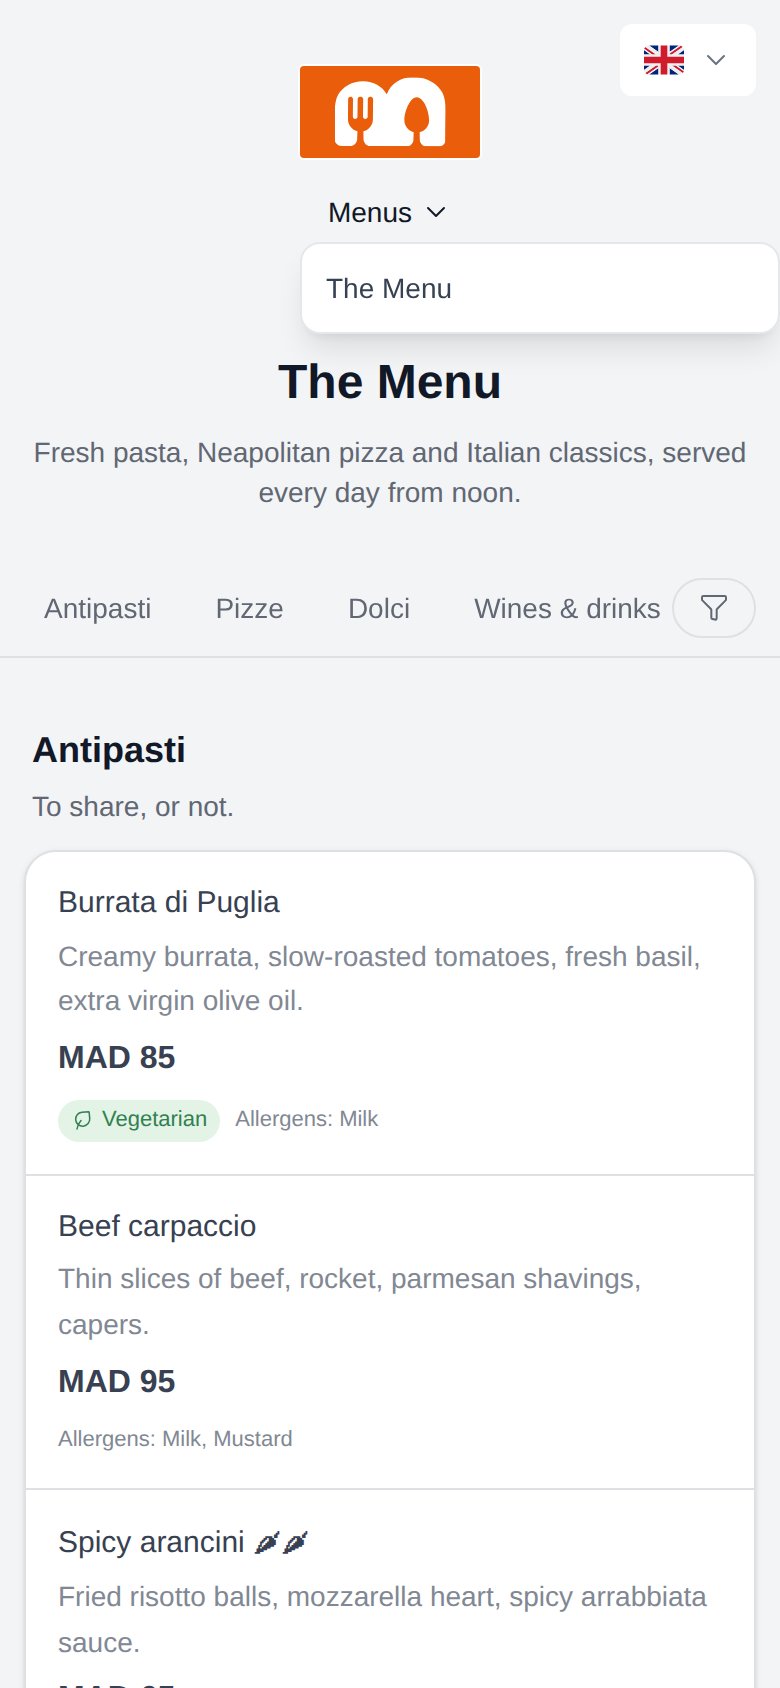
The Menus link in your portal header, listing every visible menu.
What your guests see
A PDF menu simply opens your file. An interactive menu opens a page like this one: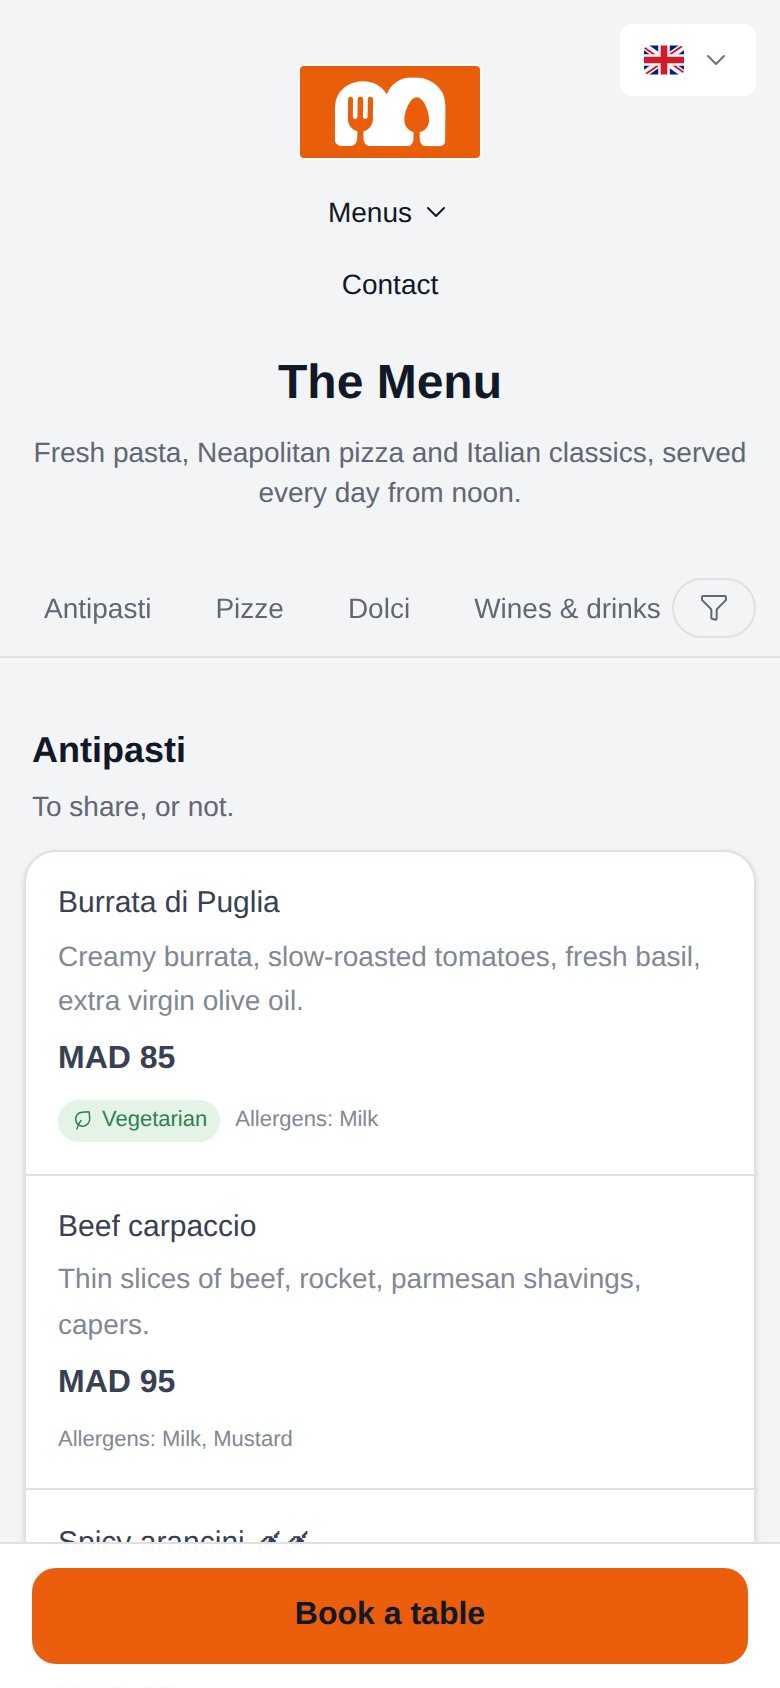
An interactive menu on a phone, in your restaurant's colors.
- Category tabs stick to the top while they scroll, and follow the section they’re reading.
- Prices, photos, dietary chips and allergens on every dish; tapping a dish opens its full details and photo.
- Badges and chili levels stand out — a good reason to use them sparingly.
- A dish you marked out of stock stays visible, greyed out, labelled Unavailable today.
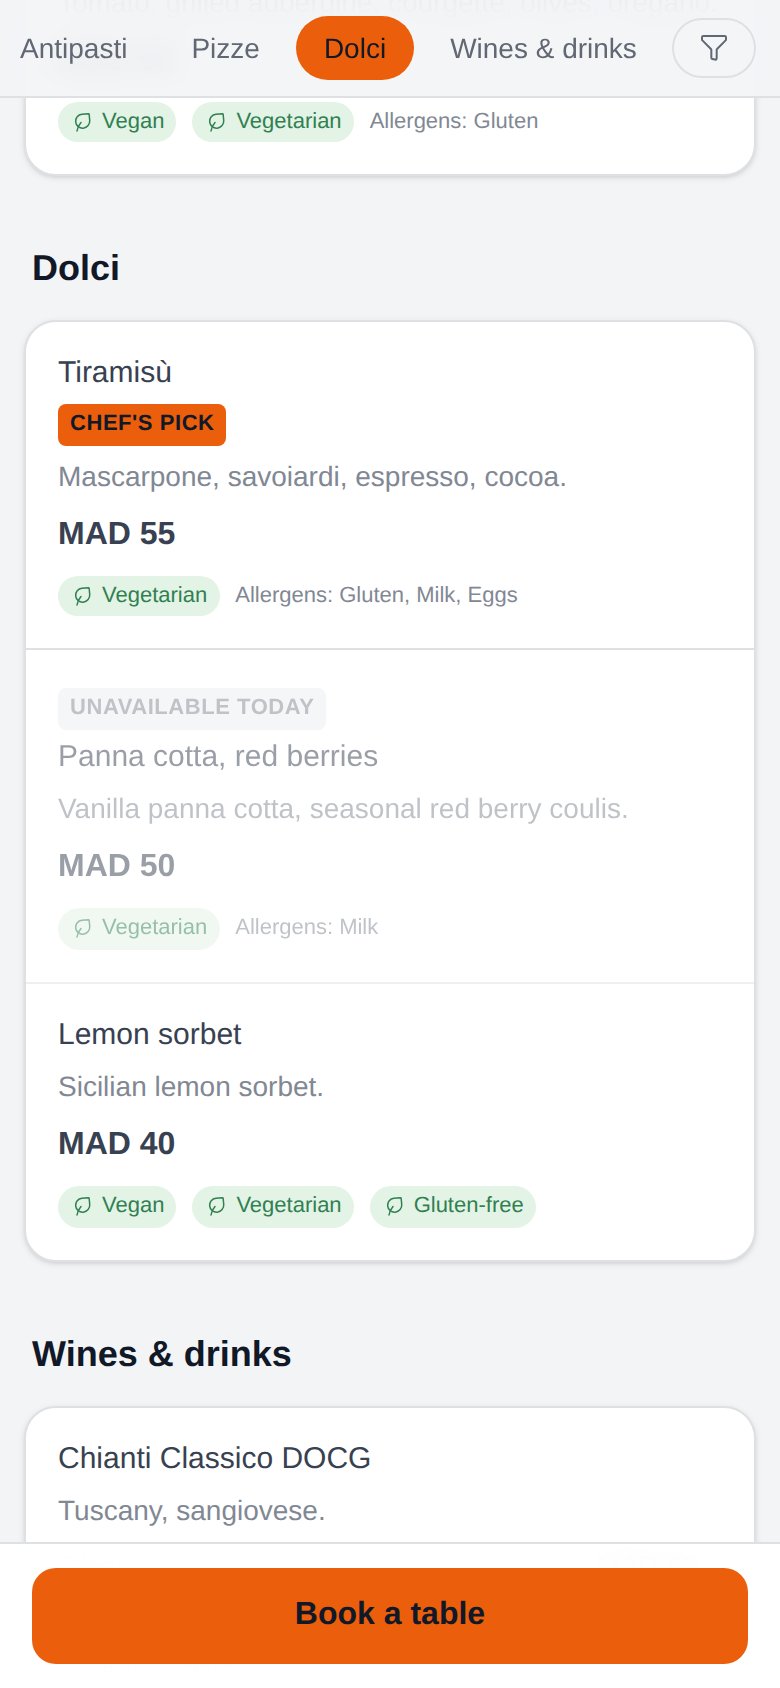
Badges, dietary chips, and a dish marked unavailable for the day.
Filters
Behind the Filters button, guests can pick dietary preferences and exclude allergens.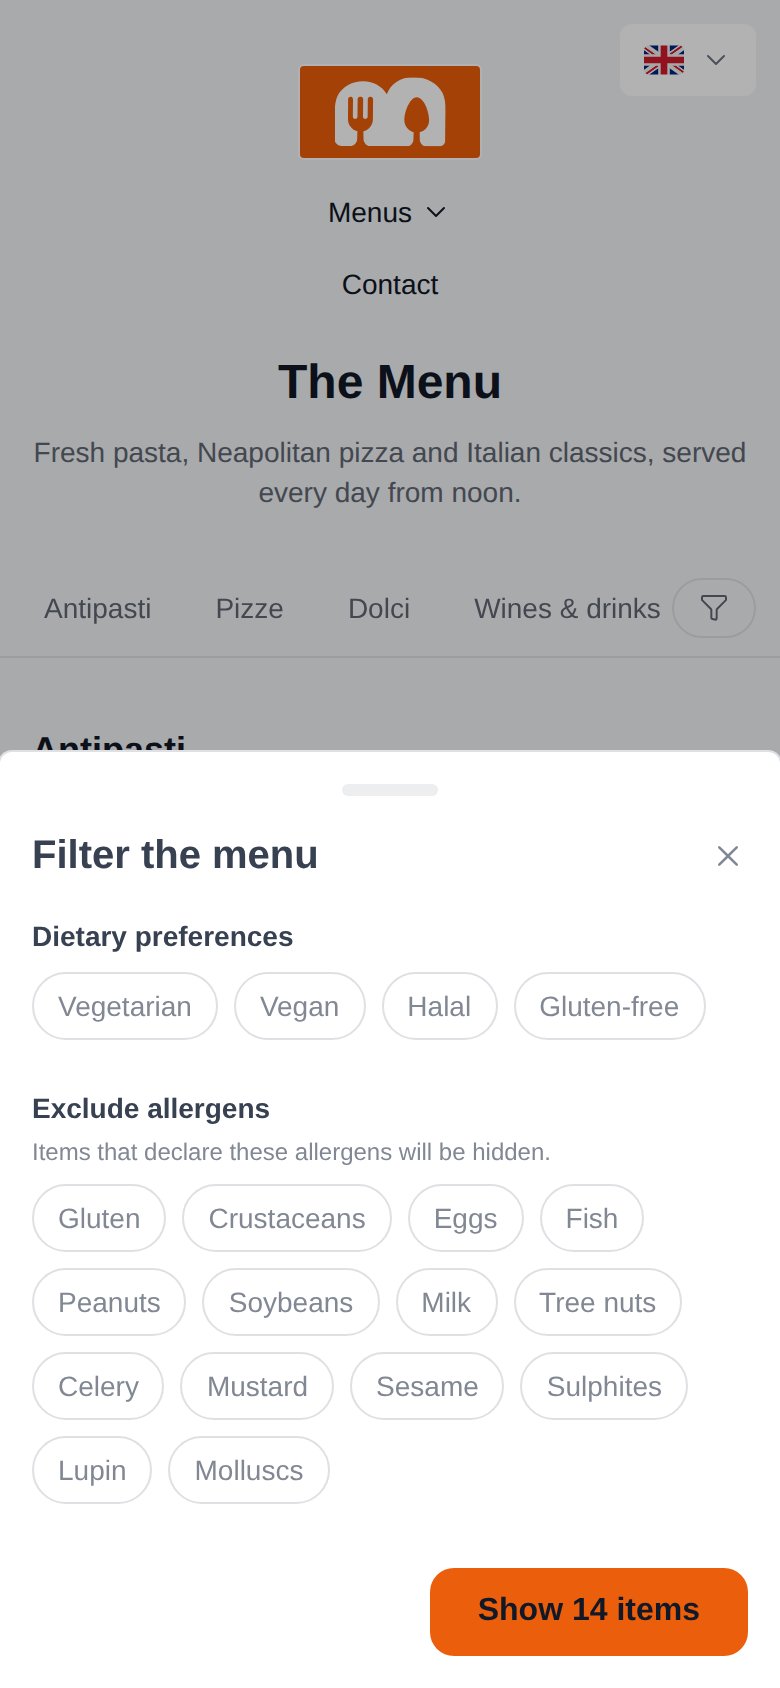
Dietary preferences and allergen exclusion, guest side.
- Dietary preferences keep only the dishes that carry all the selected tags.
- Exclude allergens hides the dishes that declare the excluded allergen.
Languages
The page follows the guest’s language, and they can switch it from the flag at the top right. Six languages are available: English, French, Spanish, German, Portuguese, Italian — filled automatically when your PDF is imported. A dish no translation covers — a recent addition, say — shows in the language you wrote it in rather than leaving a blank on the page.Google and AI assistants
An interactive menu is a real web page, rendered on the server, so:- Google can index it — your dishes and prices become searchable, which a PDF never allows.
- It embeds schema.org structured data (
Restaurant → hasMenu → MenuSection → MenuItem, with prices and diets), the format search engines and AI assistants read to answer questions like “vegan pizza near me”.