After connecting, finish two one-time steps on Meta — verify your business and get your display name approved — to unlock full sending.
Once WhatsApp is connected to EatNow, there are two one-time steps to do on Meta’s side. They unlock higher messaging limits and make sure your customers see your real name.
You can already receive and reply to messages without these steps. They’re needed to send automatic messages (confirmations, reminders…) reliably and at scale.
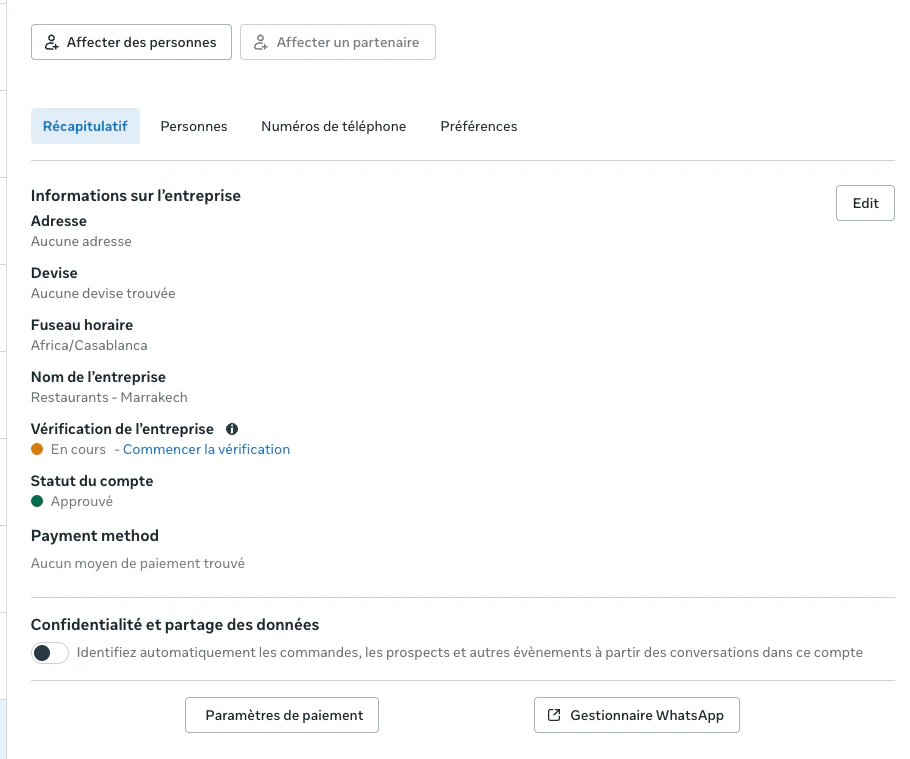
A payment method must be on file with Meta to send automatic messages (Meta bills these per message — see Pricing). If you didn’t add it during onboarding, open your WhatsApp account → Payment settings, and add a card that can handle monthly invoices in EUR or USD.
Your display name is what customers see at the top of the chat (your restaurant’s name). Meta reviews it against its rules.
Until Meta approves the display name, customers see your phone number instead of your name — including for a Coexistence number. Approval usually takes a few hours to a few days. This is normal: nothing to fix unless the name is rejected.
1
Check the current status
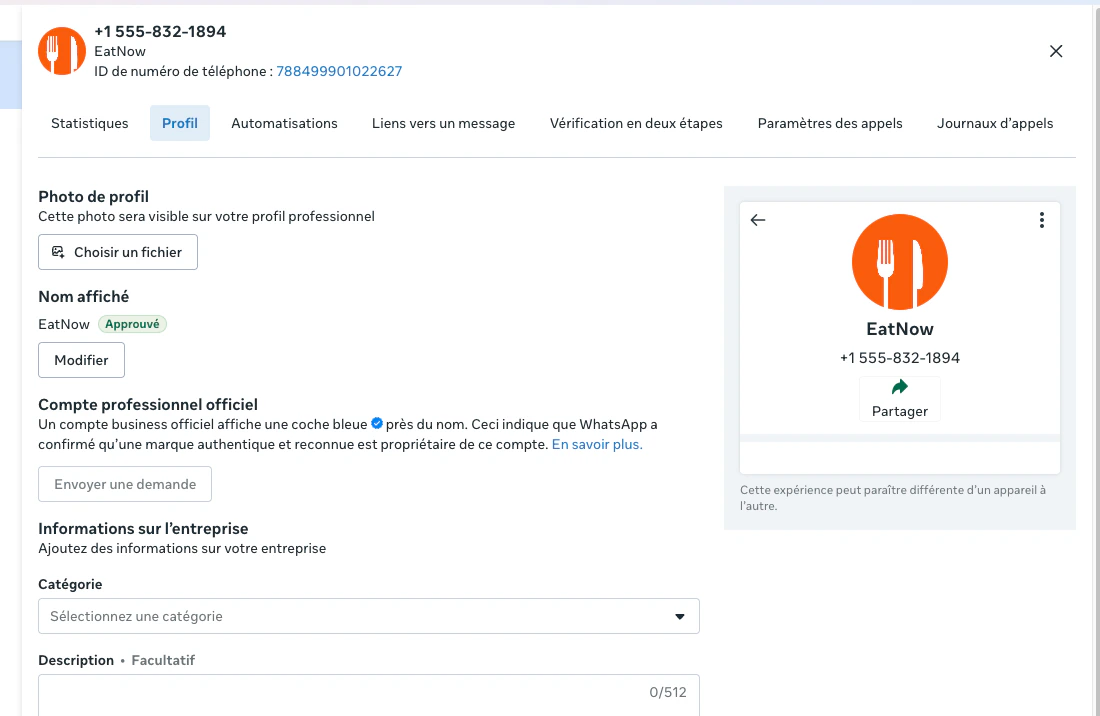
In Meta Business Manager, open your WhatsApp account → WhatsApp Manager, click your connected phone number, and open the Profile tab. You’ll see whether the display name is approved.
The Profile tab shows your display name and its approval status.
2
Change it if needed
If it isn’t approved, click Edit, enter your establishment’s name with correct spelling, and Save. Meta reviews it — this can take a few hours to a few days, and you’ll be notified of the result.
3
Re-register in EatNow (new-number connections only)
If you connected with a new number (Cloud API): once the name is approved, go to EatNow → Settings → Integrations → WhatsApp → Re-register number, and enter your 6-digit PIN.
If you connected with Coexistence (your existing number), there’s nothing to re-register — you’re done.
Once your business is verified and your display name is approved, you’re fully set up. Head to Enable notifications to choose what EatNow sends.