
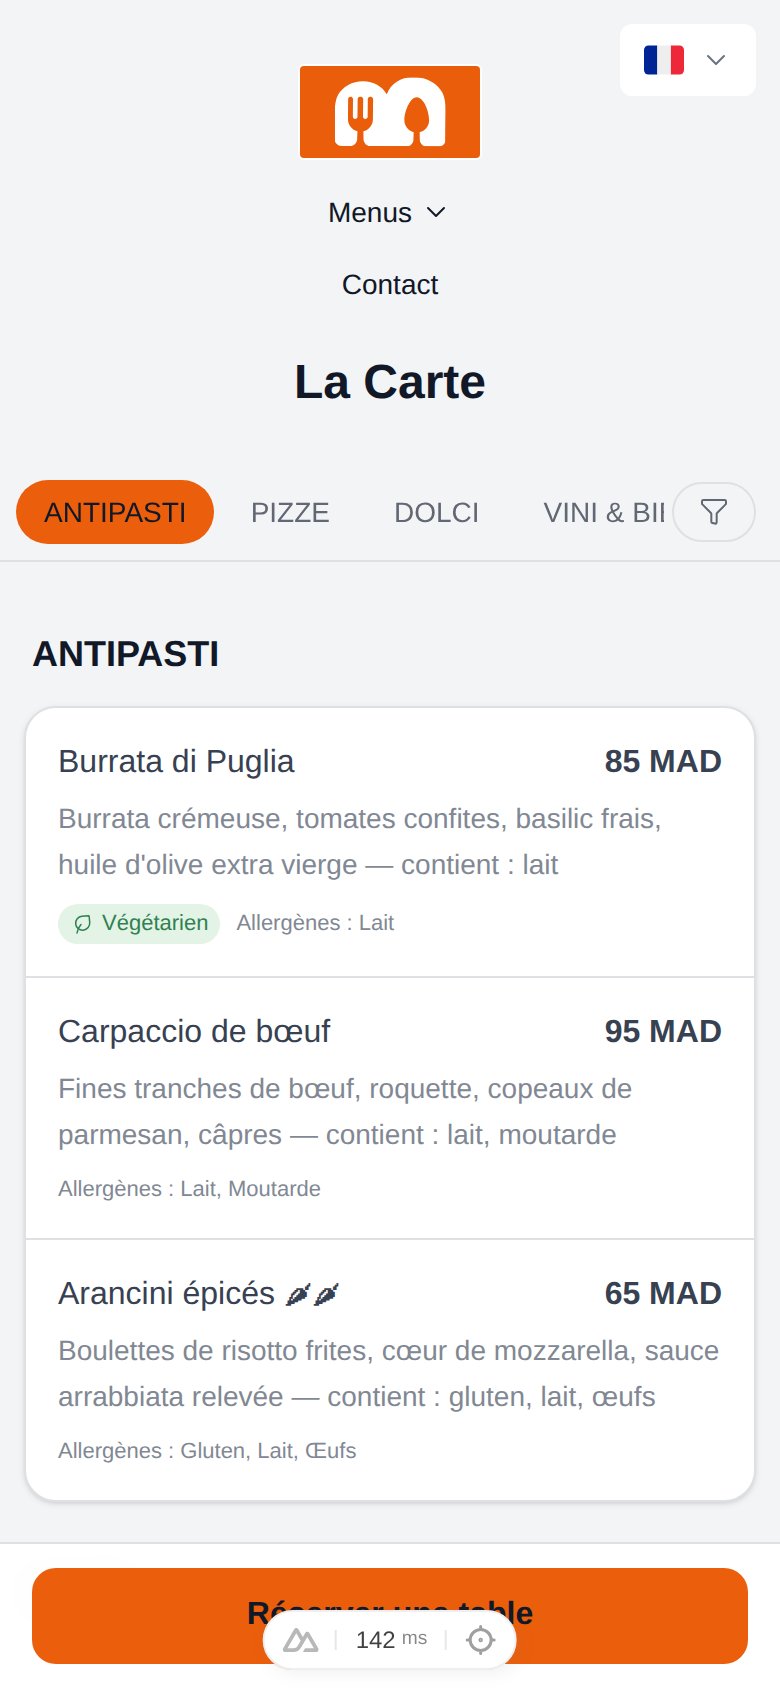
Why switch from a PDF?
PDF menus are still fully supported — nothing changes for them. You choose the type when creating each menu, and you can keep both kinds side by side.
Create an interactive menu
1
Open the Menus page
In your dashboard, go to Menus and click Create a digital menu.
2
Choose “Interactive menu”
Two types are offered: PDF menu (the classic behavior) and Interactive menu.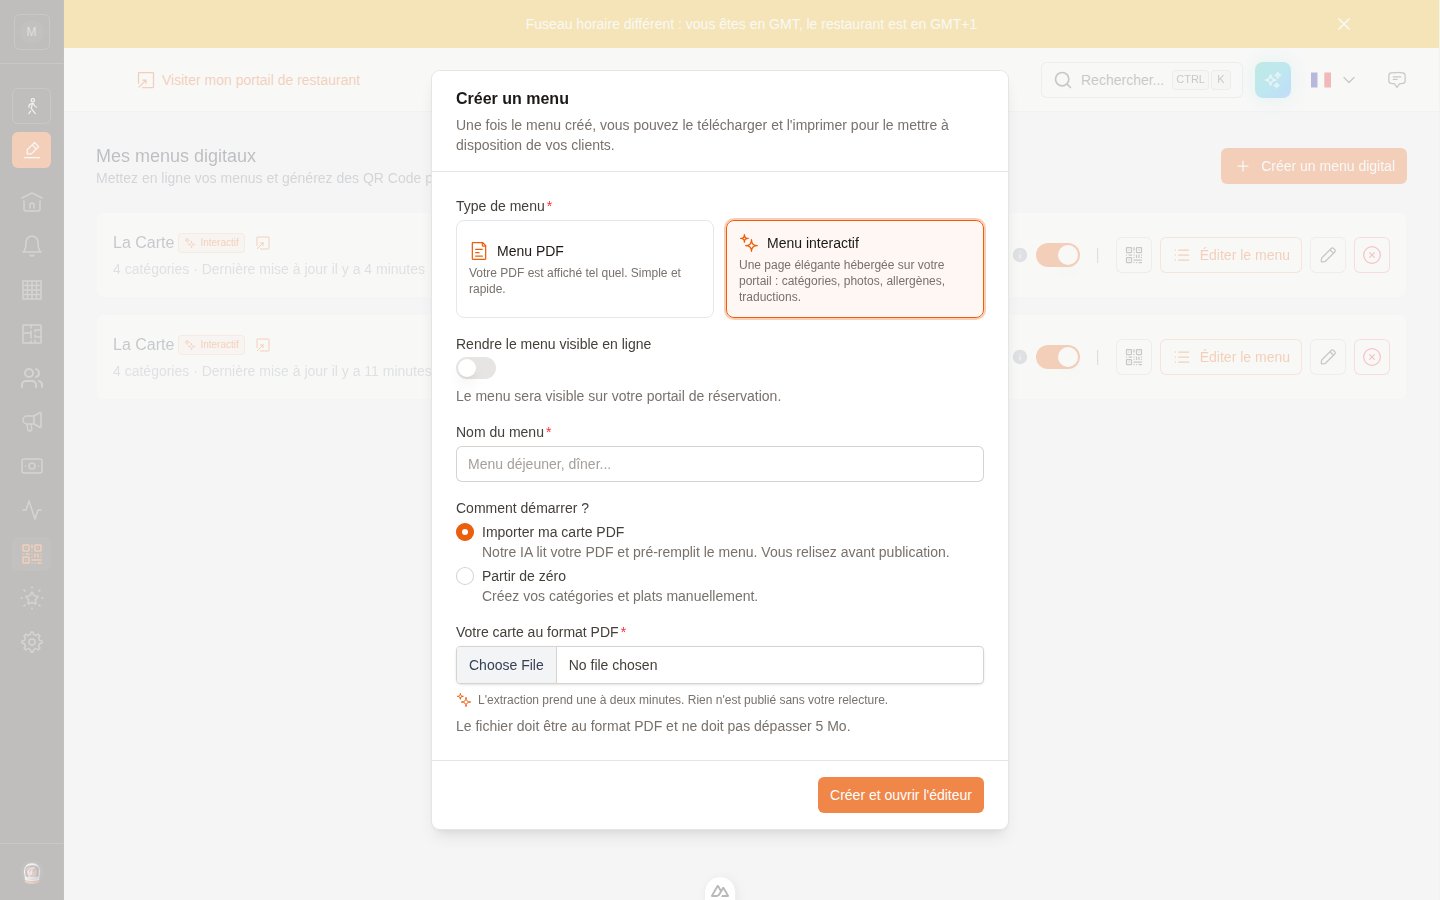
3
Import your PDF — or start from scratch
If you already have your menu as a PDF, choose Import my PDF menu: our AI reads it and pre-fills your categories and dishes — names, descriptions, prices (including glass/bottle variants), and any allergens, vegetarian/vegan marks or chili icons explicitly printed on your menu.Extraction takes a minute or two. Prefer a blank slate? Choose Start from scratch.
4
Review before publishing
The extracted menu is a draft: nothing is visible to guests until you turn on Published. Read every dish — especially allergens, which the AI only picks up when your PDF explicitly declares them. You remain responsible for allergen accuracy.
Edit your menu
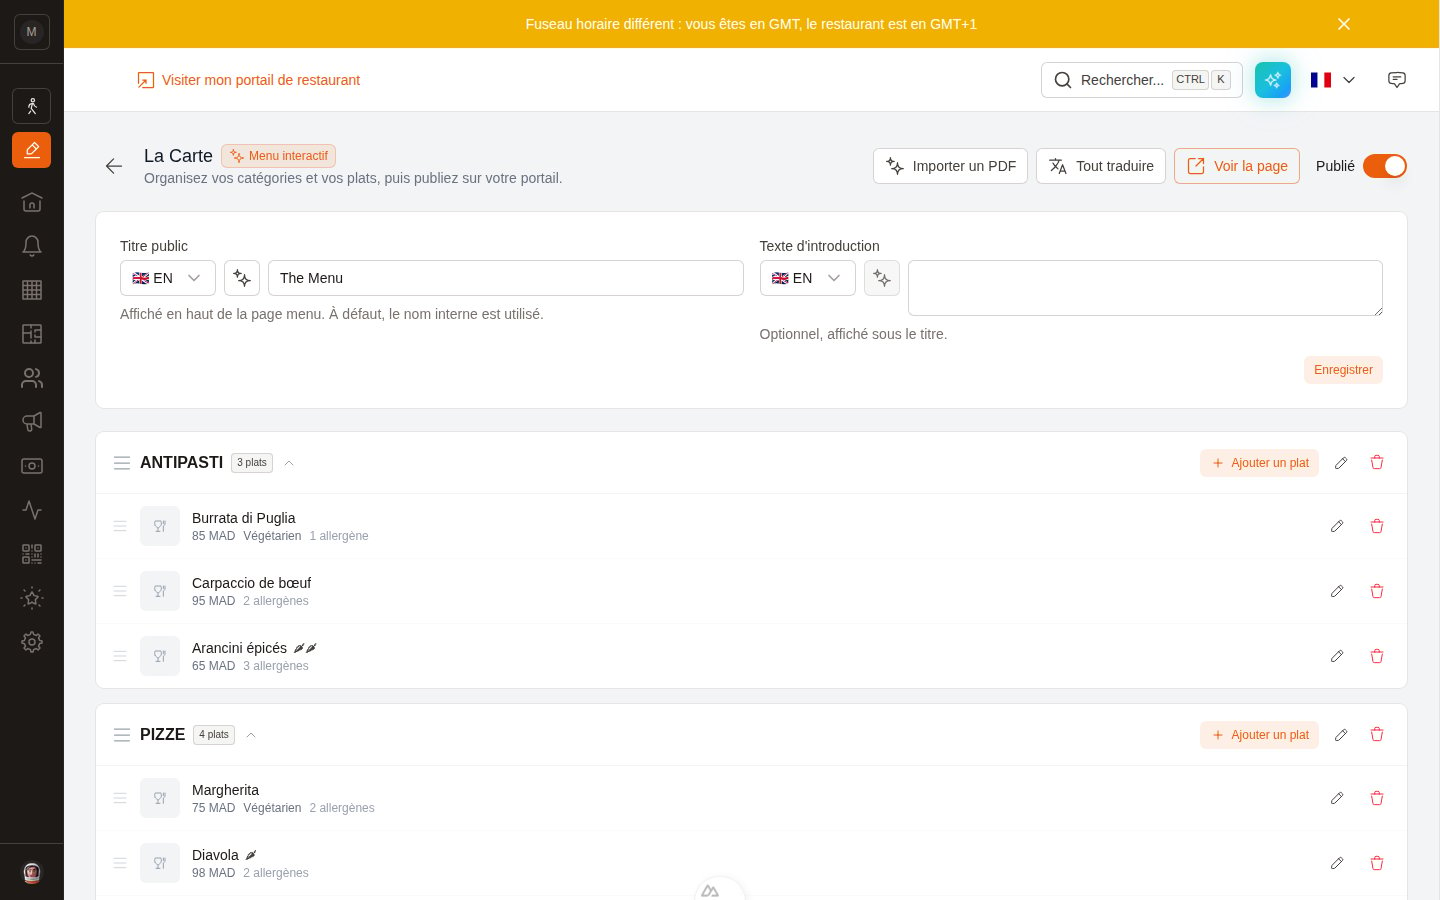
The editor shows your categories (Starters, Mains, Desserts, Drinks…) with their dishes. You can:- Reorder anything by drag & drop — categories and dishes.
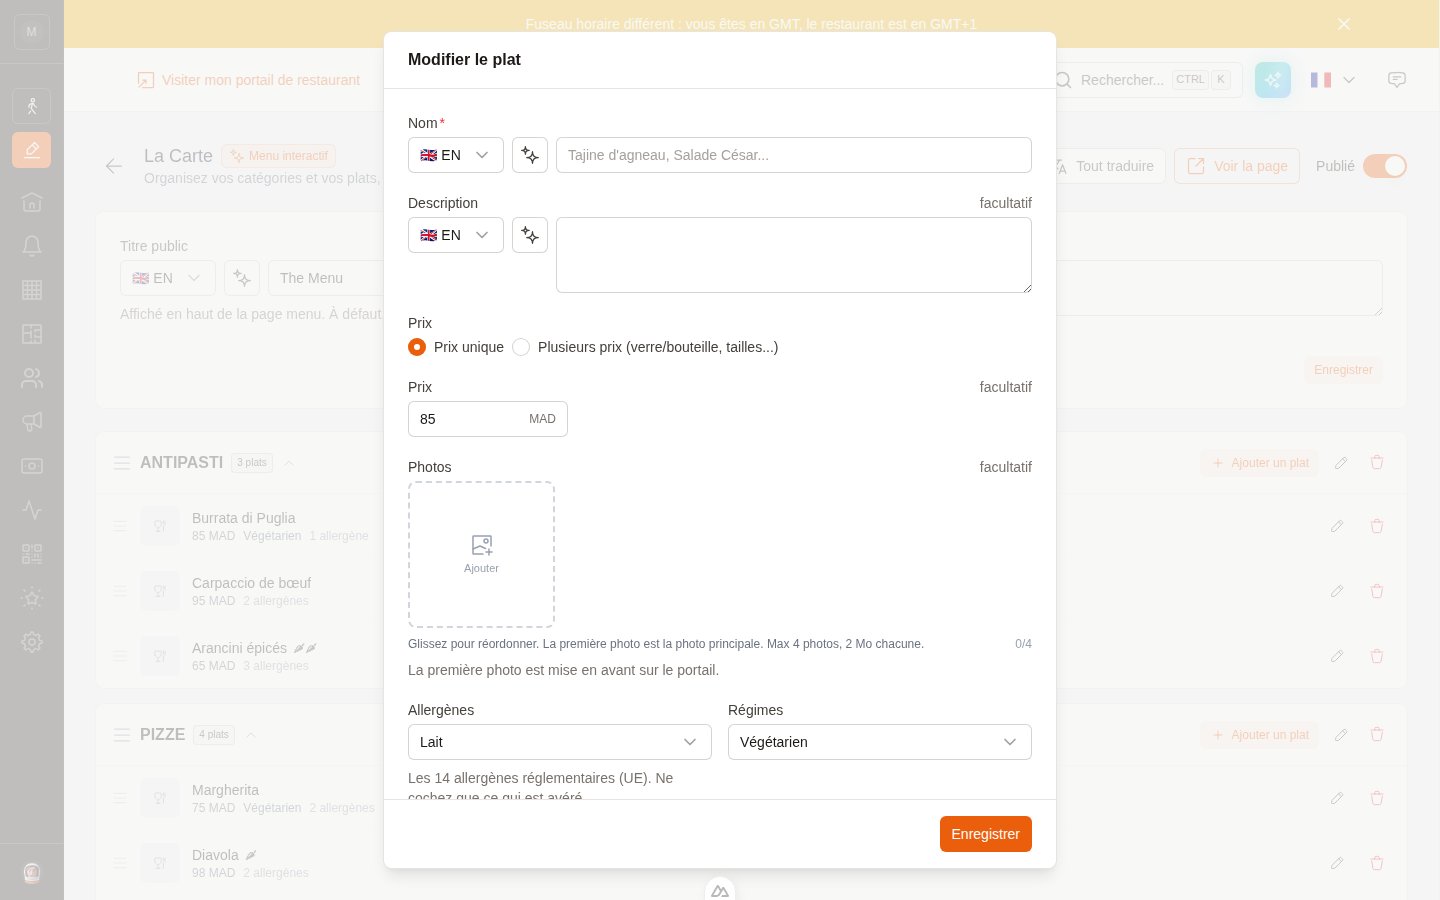
- Add, edit, hide or delete categories and dishes. Hiding a dish removes it from the portal entirely (off season).
- Mark a dish unavailable in one tap (the ⊘ button on its row) when it runs out mid-service: it stays on the menu, greyed out with an “Unavailable today” mention, until you flip it back.
- Publish with the switch at the top right — that’s what makes the menu visible on your portal.
Translations
Every text field has the usual language selector and ✨ auto-translate button. For a whole menu, use Translate all in the editor’s toolbar: it fills the 6 portal languages for every dish in one go.What your guests see
On your portal, the Menus link now opens the hosted page instead of a PDF. Guests get:- Category tabs that stick to the top while scrolling,
- Filters: show only vegan dishes, or hide everything that declares a given allergen,
- Photos (tap to enlarge), prices, badges and spice levels,
- The page in their language, with a Book a table button that leads straight to your booking flow.
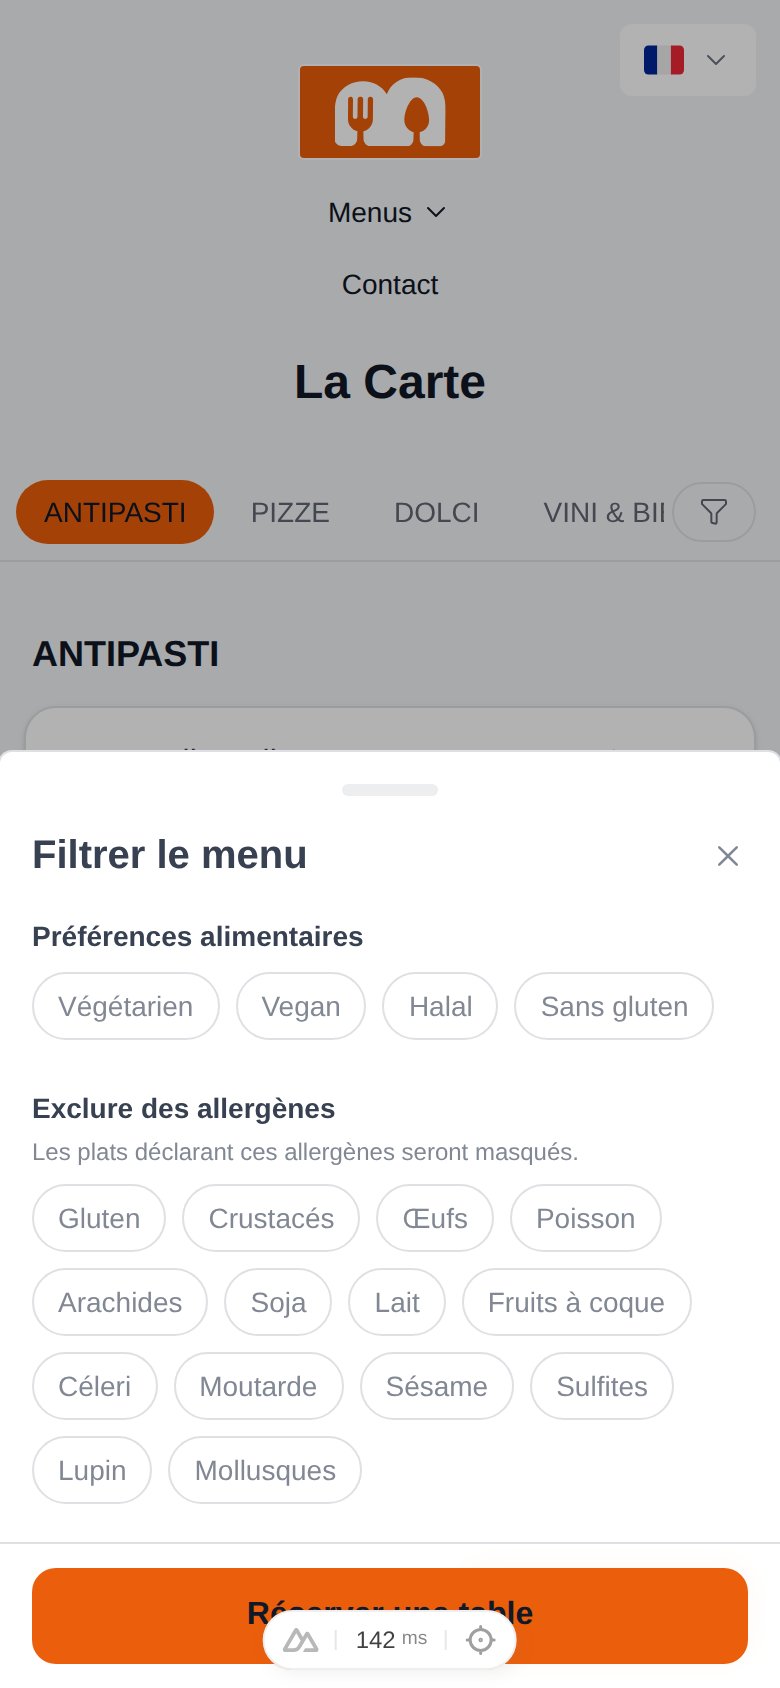
The allergen filter only hides dishes that declare the excluded allergen, and the page carries a disclaimer inviting guests to inform your team. It’s guidance, not a guarantee.
QR codes and links
Each menu keeps a permanent public link and QR code (from the menu’s card in the dashboard). QR codes you’ve already printed keep working: if you convert to an interactive menu later, the same link now opens the hosted page. The QR code and the shareable link are subtly different on purpose: a QR code is usually scanned at the table, so the page it opens hides the Book a table button — your guest is already seated. The link (for your website, Instagram bio…) keeps the booking button visible.Search engines & AI assistants
The menu page is built for visibility:- It’s a real web page (not a PDF), server-rendered and indexable by Google,
- It embeds schema.org structured data (
Restaurant → hasMenu → MenuSection → MenuItem, with prices and diets) so search engines — and AI assistants recommending restaurants — can actually read your menu.