> ## Documentation Index
> Fetch the complete documentation index at: https://docs.eat-now.io/llms.txt
> Use this file to discover all available pages before exploring further.
# Create Your First Shift
> Get your restaurant taking online reservations today. This quickstart covers only the essential settings — you can fine-tune everything else later.
This is the fast path to going live. You only need a handful of settings to start taking online bookings; everything else has a sensible default you can adjust later.
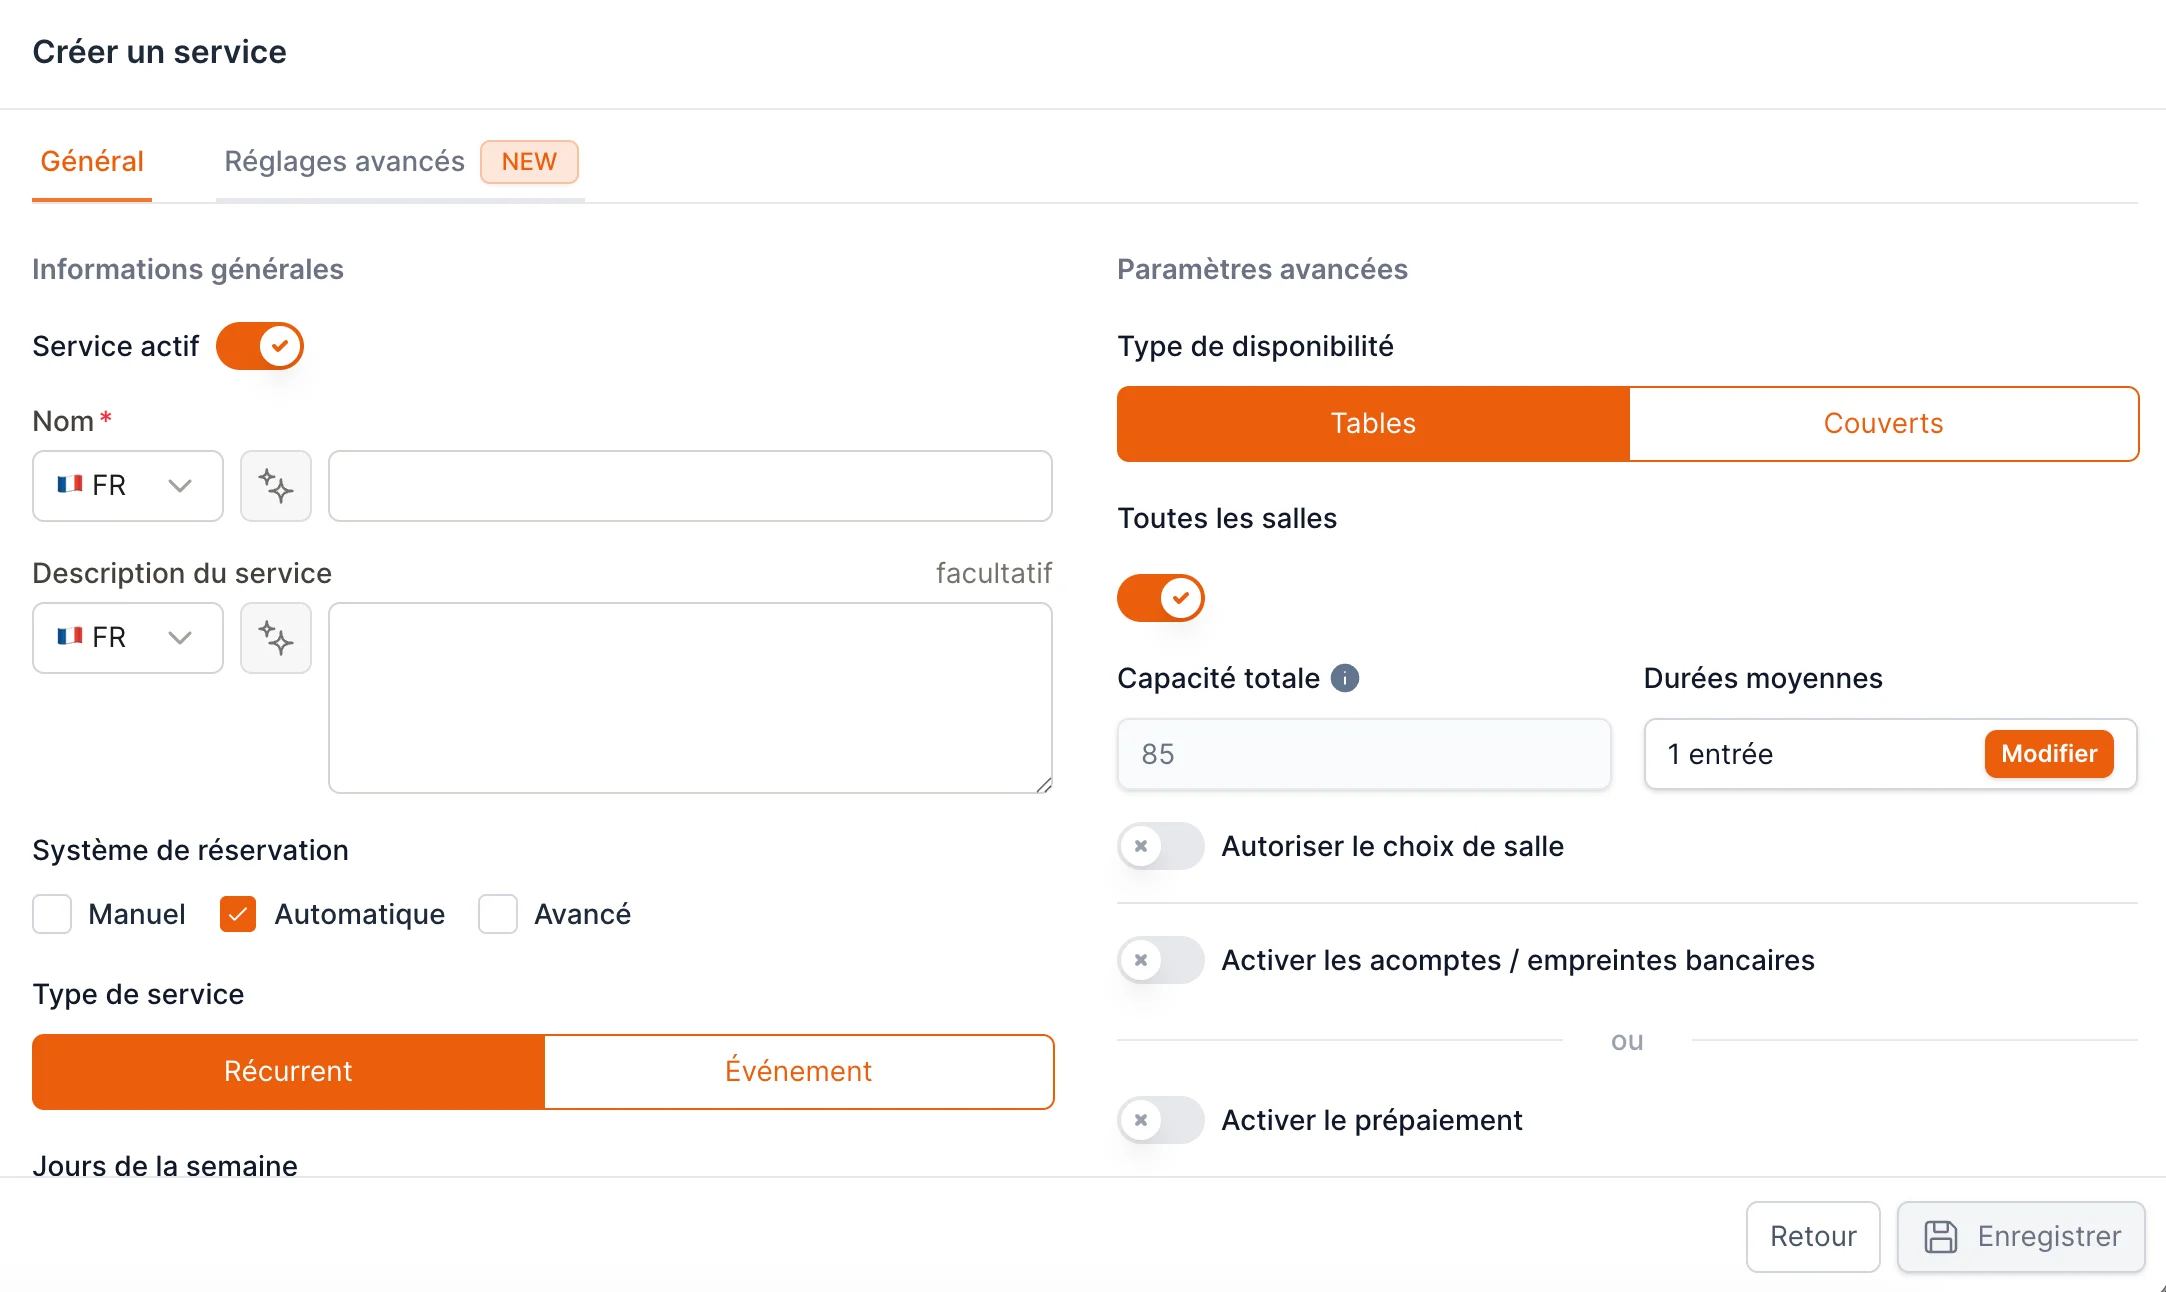
Go to **Settings → Opening days → Shifts** and click **+ New shift**.
## The essentials
Give it a name customers will recognize, like **Dinner** or **Sunday Brunch**. Pick a **color** to tell it apart on your planning calendar.
Set **Shift type** to **Recurring** for a regular service, then select the **days of the week** it runs (e.g. Tuesday–Sunday). For a one-off date, choose **Event** instead. See [Schedule & hours](/shifts/schedule).
Under **Online booking hours**, add the time window when customers can book — for example **19:00 to 22:00**. Running both lunch and dinner? Create a **separate shift for each** rather than one shift covering both.
**Interval** is the gap between bookable times. `30` minutes gives customers slots at 19:00, 19:30, 20:00, and so on.
**Min covers** and **Max covers** are the smallest and largest party you'll accept online (e.g. 1 to 8).
Choose how availability is counted — **Tables** (from your floor plan) or **Covers** (a number of seats). If you use Covers, enter your **Total capacity**. See [Capacity & rooms](/shifts/capacity-and-rooms).
Click **Save**. Your shift is live and bookable on your online portal.
 ## What you can add later
Once you're live, these are the most common next steps:
Stop last-minute bookings or limit how far ahead people book.
Protect against no-shows with a card hold or deposit.
Cap how many arrive at once.
Review large bookings before confirming.
Not sure about a setting? Leave it at its default. Shifts are safe to edit at any time — changes only affect **new** bookings, never existing ones.
## What you can add later
Once you're live, these are the most common next steps:
Stop last-minute bookings or limit how far ahead people book.
Protect against no-shows with a card hold or deposit.
Cap how many arrive at once.
Review large bookings before confirming.
Not sure about a setting? Leave it at its default. Shifts are safe to edit at any time — changes only affect **new** bookings, never existing ones.