> ## Documentation Index
> Fetch the complete documentation index at: https://docs.eat-now.io/llms.txt
> Use this file to discover all available pages before exploring further.
# Get Started
> Connect WhatsApp, teach your agent about your restaurant, and switch it on safely in shadow mode — all in about ten minutes.
Getting your AI agent live takes three steps: **connect WhatsApp**, **teach it about your restaurant**, then **switch it on** — starting safely in shadow mode so you approve every reply at first.
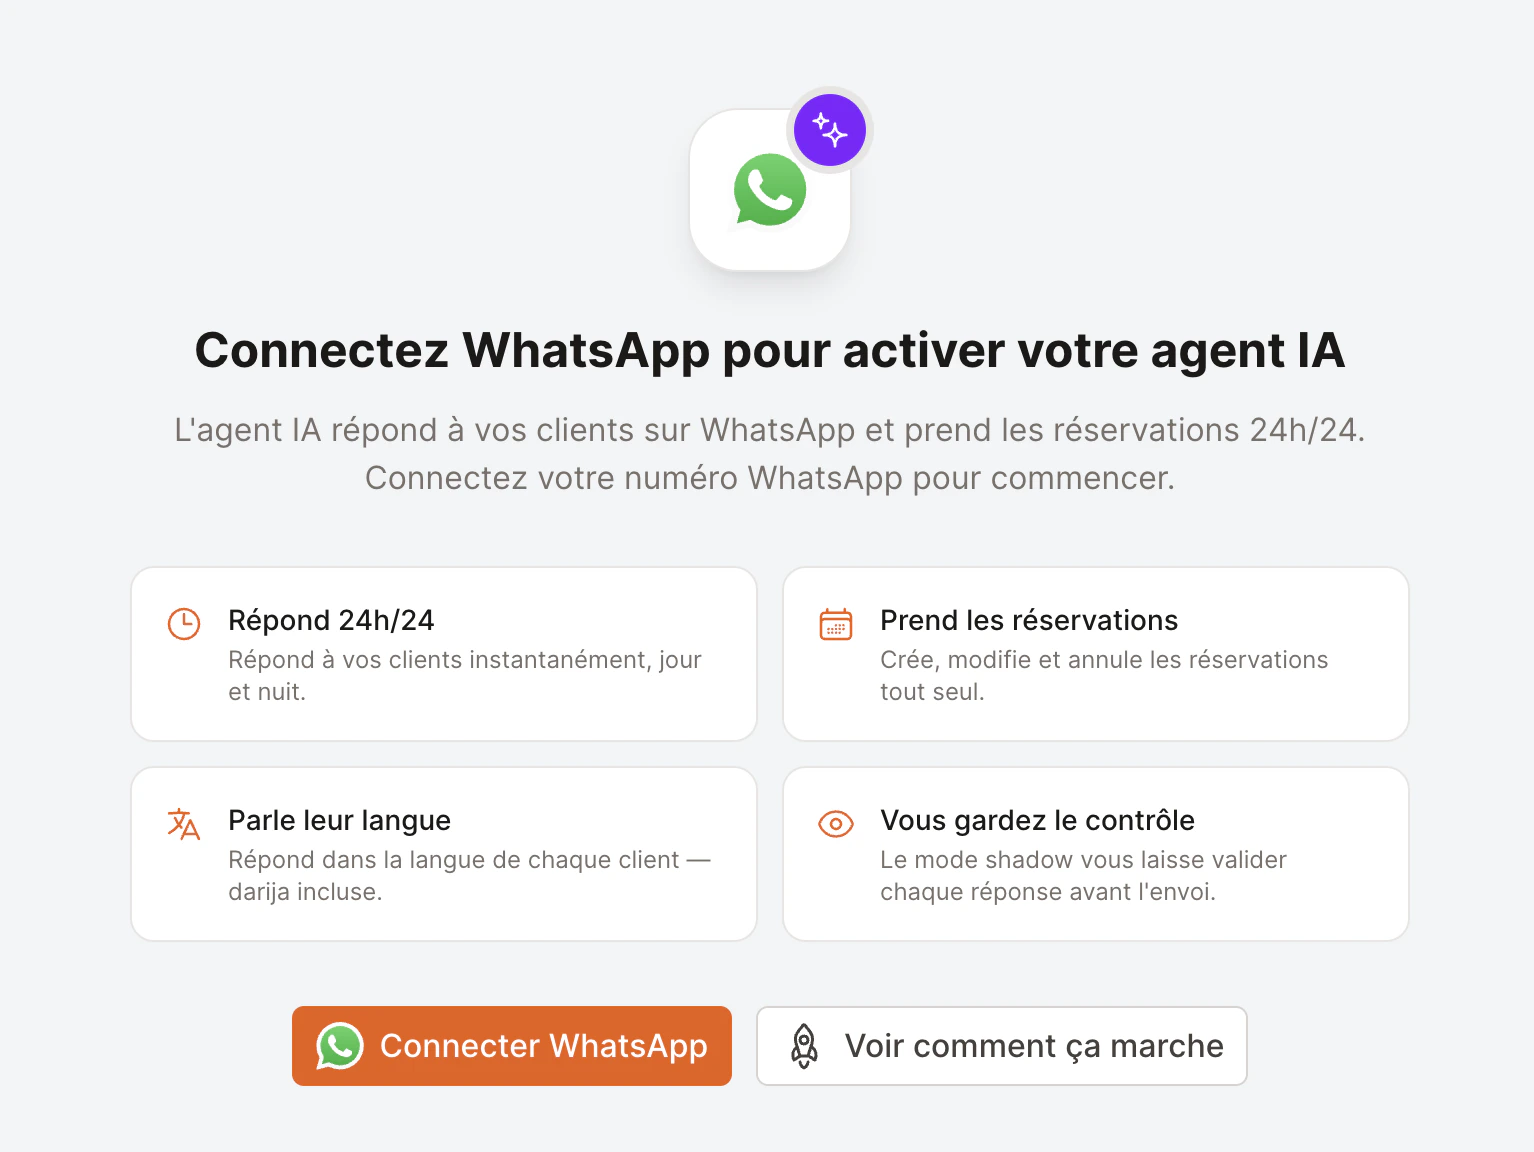
The agent answers customers on WhatsApp, so you need a connected WhatsApp number first.
If you haven't connected one yet, open **Settings → AI Agent** and you'll see an invitation to connect it. Click **Connect WhatsApp** to begin.
 Already messaging customers on a WhatsApp Business number? You can keep it. Follow the [Connect WhatsApp Business](/whatsapp/onboarding) guide — we recommend the **Coexistence** option so you keep your existing number.
EatNow already knows your opening hours, party-size limits, deposit policy and contact details — the agent uses them automatically. What's left are the things only you can answer: parking, dress code, terrace, dietary options, and so on.
From the AI Agent page, click **Run onboarding**. A short guided questionnaire walks you through \~16 common topics, one question at a time. Answer what's relevant, **skip** anything that doesn't apply, and add your own questions at the end.
Already messaging customers on a WhatsApp Business number? You can keep it. Follow the [Connect WhatsApp Business](/whatsapp/onboarding) guide — we recommend the **Coexistence** option so you keep your existing number.
EatNow already knows your opening hours, party-size limits, deposit policy and contact details — the agent uses them automatically. What's left are the things only you can answer: parking, dress code, terrace, dietary options, and so on.
From the AI Agent page, click **Run onboarding**. A short guided questionnaire walks you through \~16 common topics, one question at a time. Answer what's relevant, **skip** anything that doesn't apply, and add your own questions at the end.
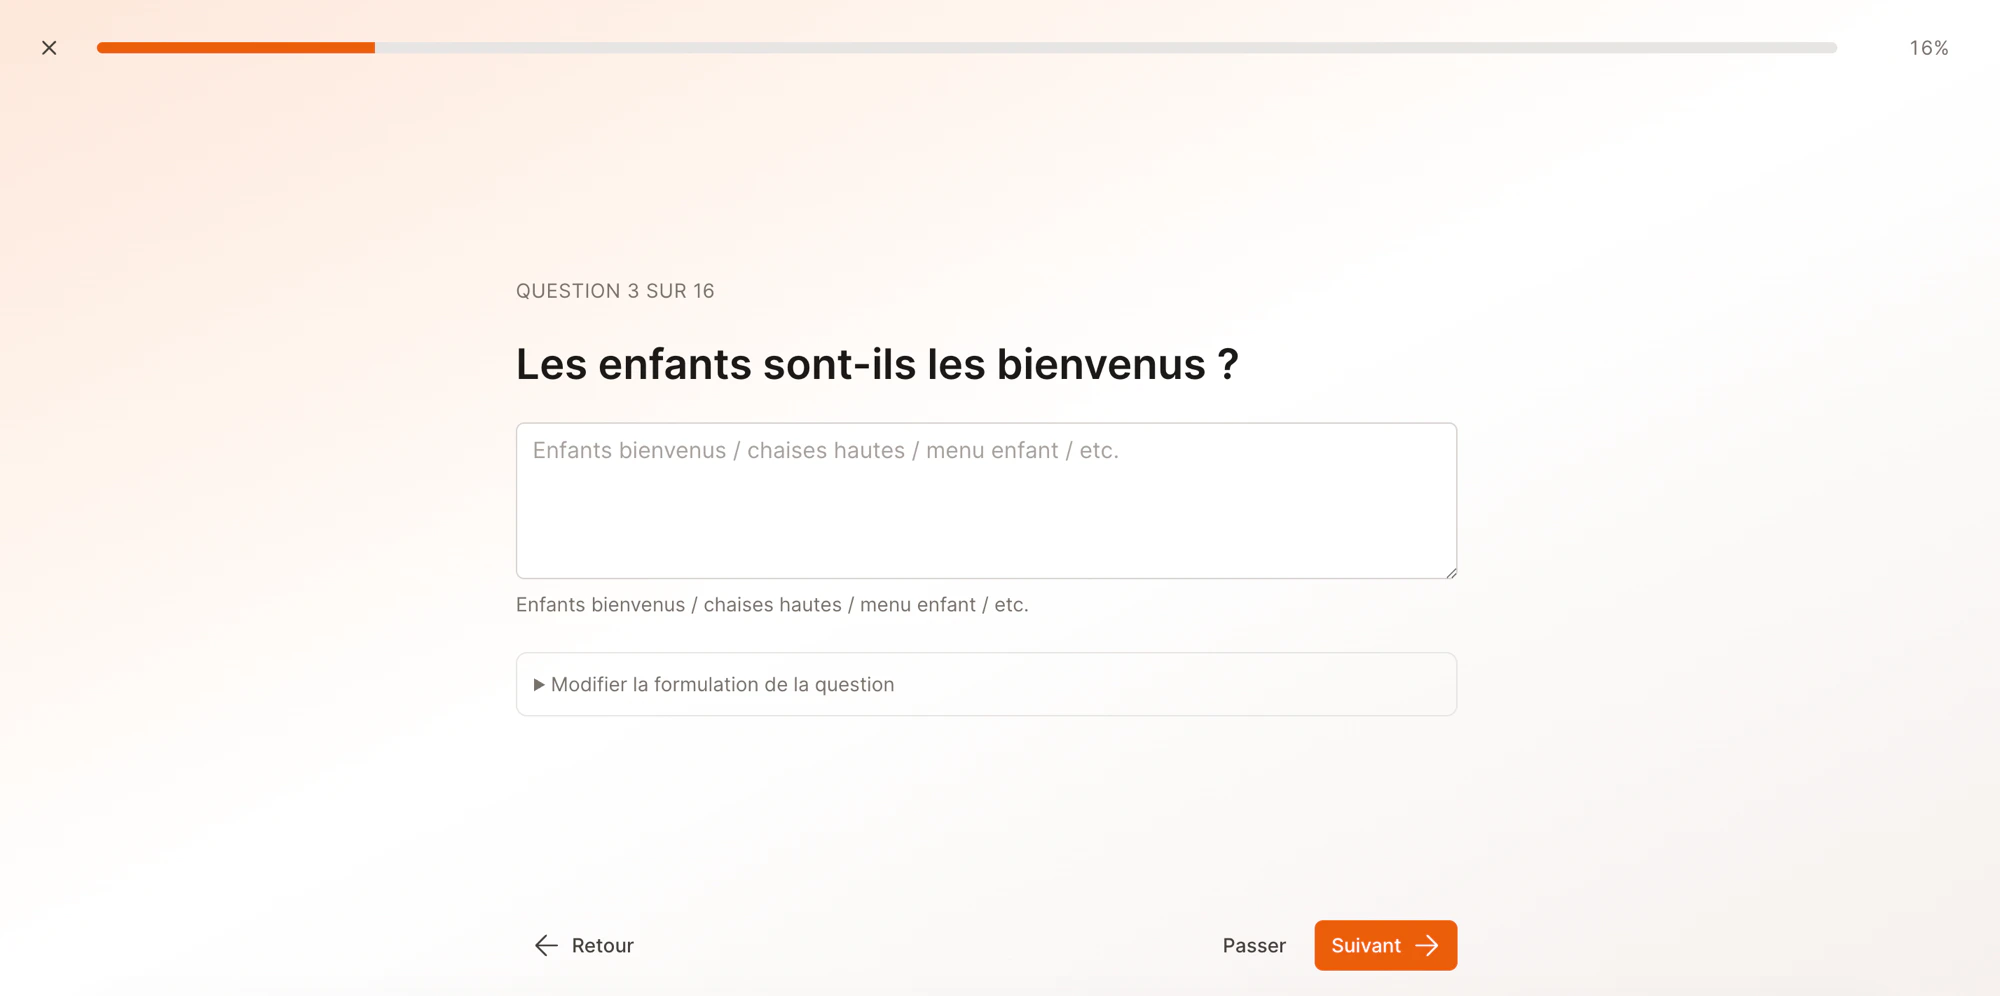 It takes about two minutes. Everything you enter lands in your [knowledge base](/ai-agent/knowledge-base), where you can edit or add to it any time.
Open **Settings → AI Agent** and turn on **Agent enabled**.
Leave **Shadow mode** on (it's on by default). In shadow mode the agent doesn't message customers directly — it *drafts* a reply and waits for you to approve, edit, or reject it from your inbox. It's the safest way to start: you see exactly how the agent behaves on real conversations before letting it reply on its own.
It takes about two minutes. Everything you enter lands in your [knowledge base](/ai-agent/knowledge-base), where you can edit or add to it any time.
Open **Settings → AI Agent** and turn on **Agent enabled**.
Leave **Shadow mode** on (it's on by default). In shadow mode the agent doesn't message customers directly — it *drafts* a reply and waits for you to approve, edit, or reject it from your inbox. It's the safest way to start: you see exactly how the agent behaves on real conversations before letting it reply on its own.
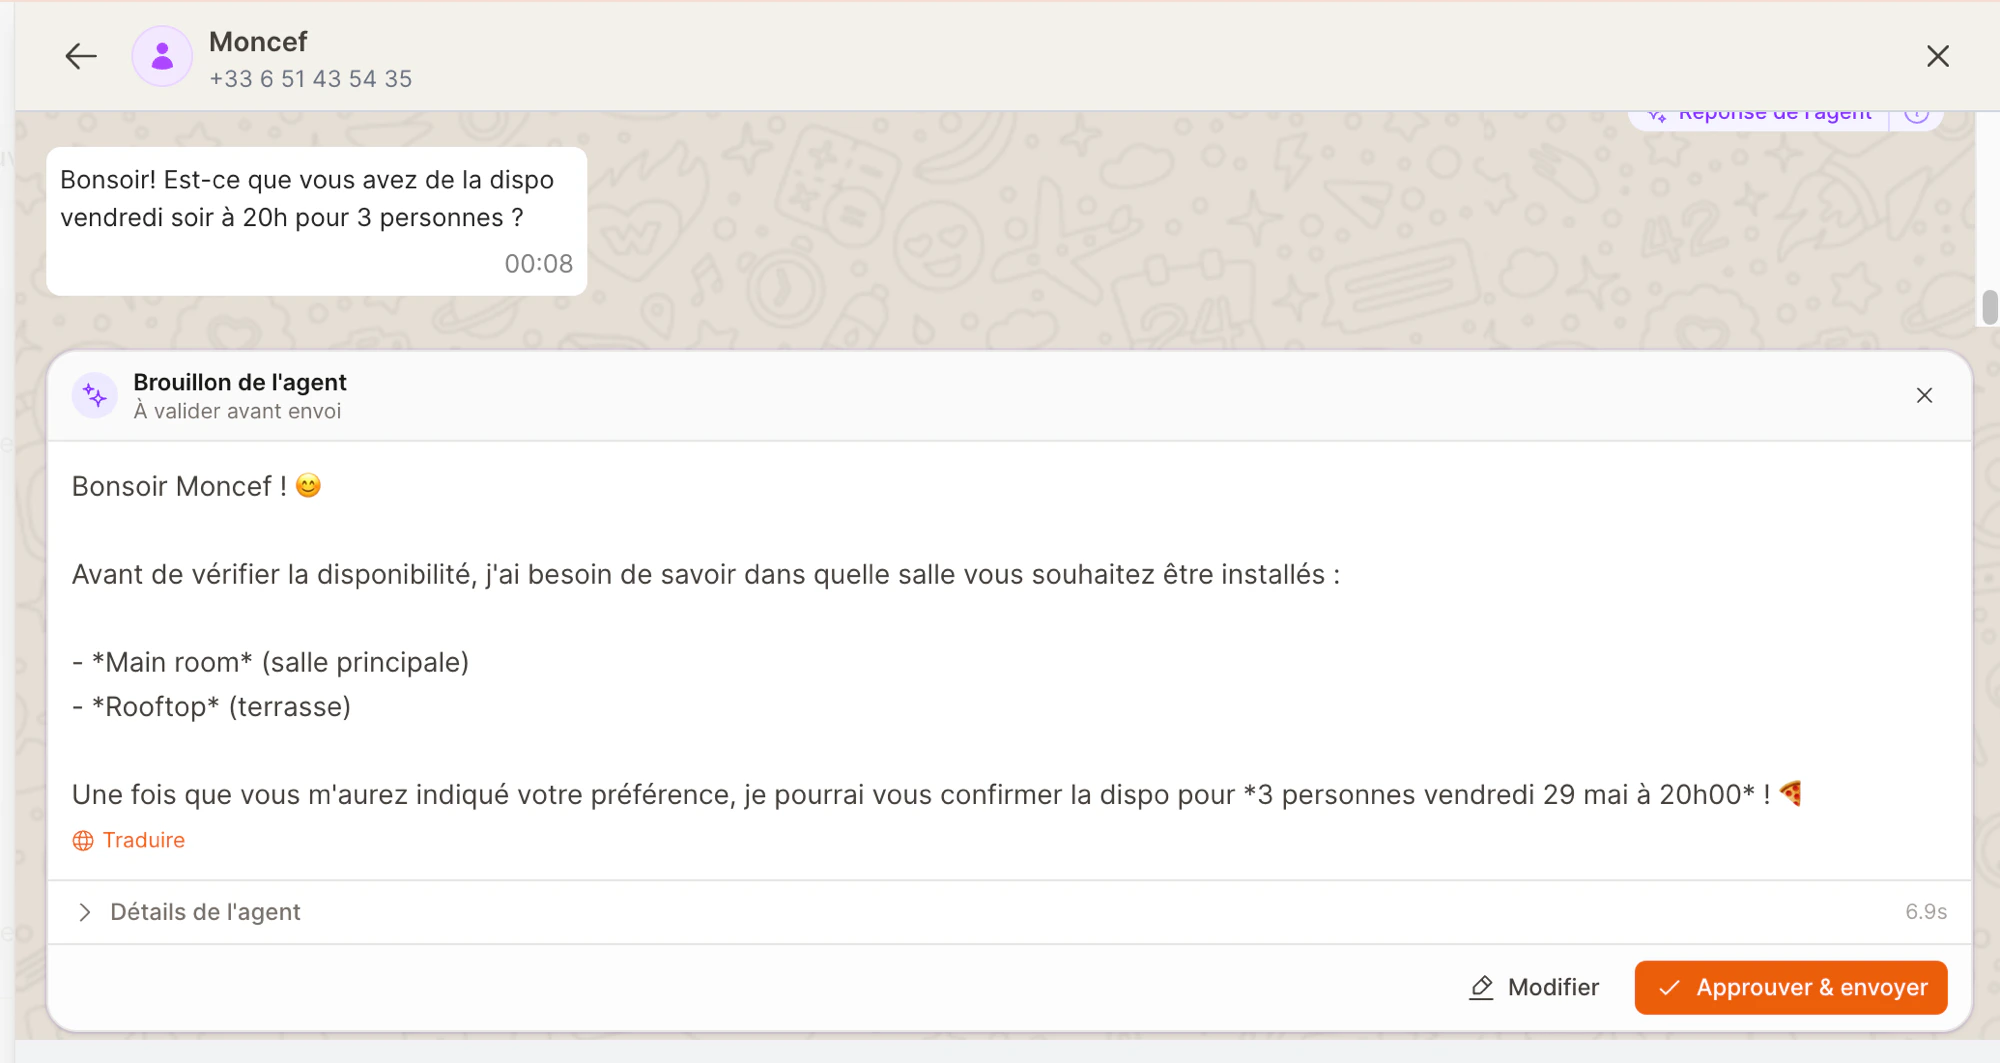 Stay in shadow mode for the first couple of weeks. Once you trust the replies, turn shadow mode **off** and the agent will send directly — you can still take over any conversation at any moment.
## What happens next
* Customers messaging your WhatsApp number get **instant** replies (drafts for you to approve while in shadow mode).
* You review everything from your **inbox** — see [Reviewing conversations](/ai-agent/reviewing-conversations).
* Anything sensitive is routed to your team automatically — see [Safety & controls](/ai-agent/safety-and-controls).
## Fine-tune before going live
You don't have to configure everything up front, but these are worth a look:
Set the agent's name, tone, and signature.
Turn booking, edits, and cancellations on or off.
Let it reply 24/7 or only during a schedule.
Send fake messages and watch how it responds.
Stay in shadow mode for the first couple of weeks. Once you trust the replies, turn shadow mode **off** and the agent will send directly — you can still take over any conversation at any moment.
## What happens next
* Customers messaging your WhatsApp number get **instant** replies (drafts for you to approve while in shadow mode).
* You review everything from your **inbox** — see [Reviewing conversations](/ai-agent/reviewing-conversations).
* Anything sensitive is routed to your team automatically — see [Safety & controls](/ai-agent/safety-and-controls).
## Fine-tune before going live
You don't have to configure everything up front, but these are worth a look:
Set the agent's name, tone, and signature.
Turn booking, edits, and cancellations on or off.
Let it reply 24/7 or only during a schedule.
Send fake messages and watch how it responds.